A crochet phone sleeve starts with the phone you actually carry: handset, everyday case and any fixed grip included. This beginner recipe turns those measurements into one single-crochet rectangle. Fold it at the bottom, sew two side seams and leave the top open. You can use the method for an iPhone 18 Pro or Pro Max without relying on a universal stitch count.
Project notes: US crochet terms; US single crochet is UK double crochet. This is an original, mathematically checked design recipe, not a physically tested model-specific pattern. Swatch and check the fit before finishing. The sleeve is a fabric accessory; it has no tested impact or water protection.
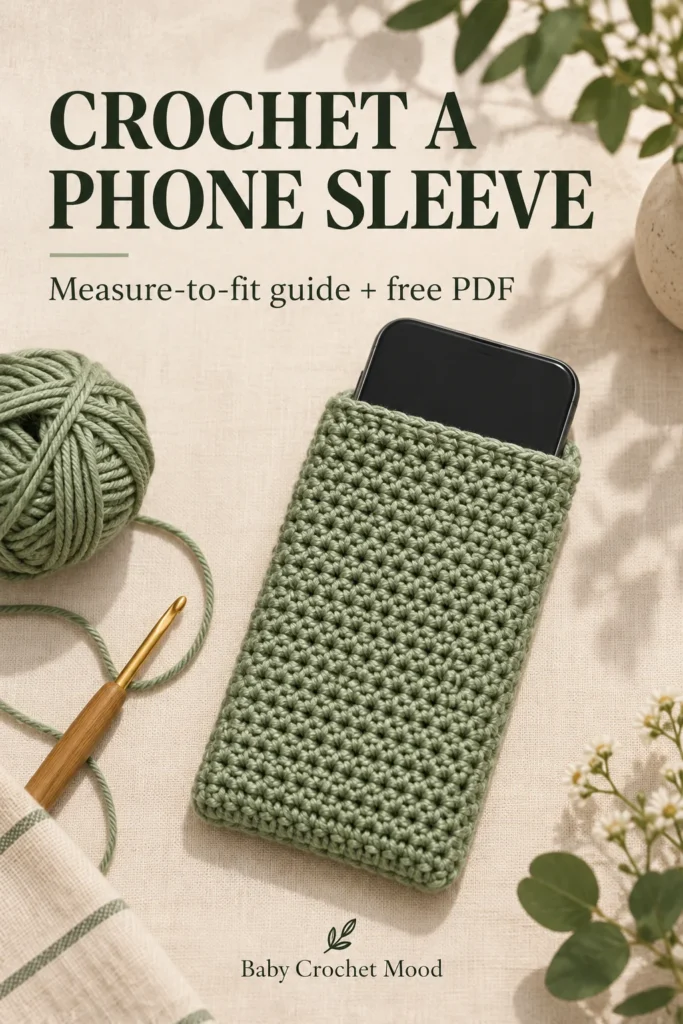
Gather a small, manageable kit
Choose a smooth yarn whose stitches you can see, a hook suitable for that yarn, a flexible tape measure, two stitch markers, scissors and a blunt yarn needle. Keep the yarn label for its care instructions. A light or medium colour makes the first and last stitches easier to find. If you are comparing yarns, use our phone sleeve fabric guide before settling on one.
Yarn quantity depends on the finished size and fabric. To estimate from a swatch, weigh the dry swatch, divide by its area, then multiply by the planned rectangle area. Allow extra for seams, tails and a replacement swatch. This estimates consumption; it is not a guaranteed shopping quantity. Keep enough matching yarn to finish both seams.
Measure around the phone in two directions
- C, the short wrap: wrap the tape around the phone’s width and thickness at its widest point. Include the case. Repeat near any projecting grip; use the largest measurement that the opening must pass over.
- U, the long wrap: start at the intended top edge on the front, run the tape down the front, around the bottom and up the back to the matching top edge. For full coverage, use the top of the phone as both endpoints.
Keep the tape in contact without squeezing. These are surface measurements in centimetres, not the screen diagonal. Our iPhone 18 Pro and Pro Max sizing guide explains why bare handset dimensions alone cannot account for a bulky case.
Choose ease and seam allowance
For a first swatch-based plan, try E = 0.4 cm of extra width per flat panel and S = 0.3 cm taken up by each side seam. These are starting assumptions to check with a basted sample, not universal fit rules. Choose M = 0.5 cm of extra coverage at each top edge. If you intend to add a lining, test its thickness now.
- Rectangle width W = C ÷ 2 + E + 2S.
- Rectangle length L = U + 2M.
The rectangle is folded across its length, so each finished face is roughly half as tall as the full rectangle. The two narrow ends become the opening. Do not sew those ends together.
Swatch, then calculate stitches and rows
Make a single-crochet swatch larger than the area you intend to measure. Wash and dry it according to the yarn label, then count stitches and rows over the centre without stretching. Divide the counts by the measured centimetres to get g, stitches per centimetre, and r, rows per centimetre. See the gauge swatch guide if this is new.
Round W × g up to a whole stitch to obtain N. Round L × r up to the next even whole number to obtain R; if it is already even, keep it. An even row count makes the midpoint easy to mark. Rounding slightly changes the size, so remeasure the fabric as you work.
Worked example, not a model size: C = 18 cm and U = 34 cm. With the allowances above, W = 10 cm and L = 35 cm. At 20 stitches and 22 rows per 10 cm, N = 20 and R = 78. The predicted rectangle is 10 × 35.45 cm before seaming. Your iPhone and yarn may need different numbers.
Crochet the rectangle
- Foundation: chain N + 1. For the example, chain 21.
- Row 1: single crochet in the second chain from the hook, then in each remaining chain: N stitches. Mark the first and last stitches.
- Row 2: chain 1 and turn. The turning chain does not count as a stitch. Single crochet in every stitch across, including the first and last: N stitches.
- Remaining rows: repeat Row 2 until you have R rows in total. Count every few rows and move the markers upward. In the example, stop after Row 78.
- Finish the fabric: fasten off and weave the ends into several stitches. Wash and dry the rectangle as you did the swatch. Measure it again.
For a stitch demonstration, follow our single crochet lesson or the Craft Yarn Council’s single crochet instructions. The stitch technique is standard; the measurement recipe above is our own.
Baste, check and sew the sides
Fold the rectangle so the foundation edge meets the final row. Match the row ends and mark the fold. Baste both side edges with contrasting scrap yarn, placing the seam about S centimetres in from each edge. Keep the stitches loose enough for the seam to lie flat. Test the phone inside over a table; do not force it into a tight opening.
If it fits comfortably, remove the phone and replace one temporary seam at a time with matching yarn. Pass the needle through corresponding fabric points on both layers, keeping the same seam position from bottom to top. Secure the tails and remove all temporary yarn and markers. Leave the two top edges open. If the pouch is too tight, adjust the seam only if the edge remains secure; otherwise change the width and remake it.
Make the next version easier
Record the final rectangle dimensions, hook, yarn, stitch count and seam position on the PDF worksheet. That record is more useful than saving only “chain 21.” For a smooth interior, continue with lining and finishing a phone pouch. For a motif-based alternative, see the granny-square pouch planning guide.