The useful question when sizing a crochet iPhone 18 pouch is not “How many chains for this phone?” It is “How much fabric will go around my phone, case and seams?” Two makers can start with the same handset and need different stitch counts because their yarn and tension produce different fabric.
This guide separates Apple’s bare handset measurements from your finished pouch measurements. It uses centimetres for the crochet calculations, with US stitch names where needed. For the actual construction instructions and free PDF, open our measure-to-fit crochet phone sleeve recipe.
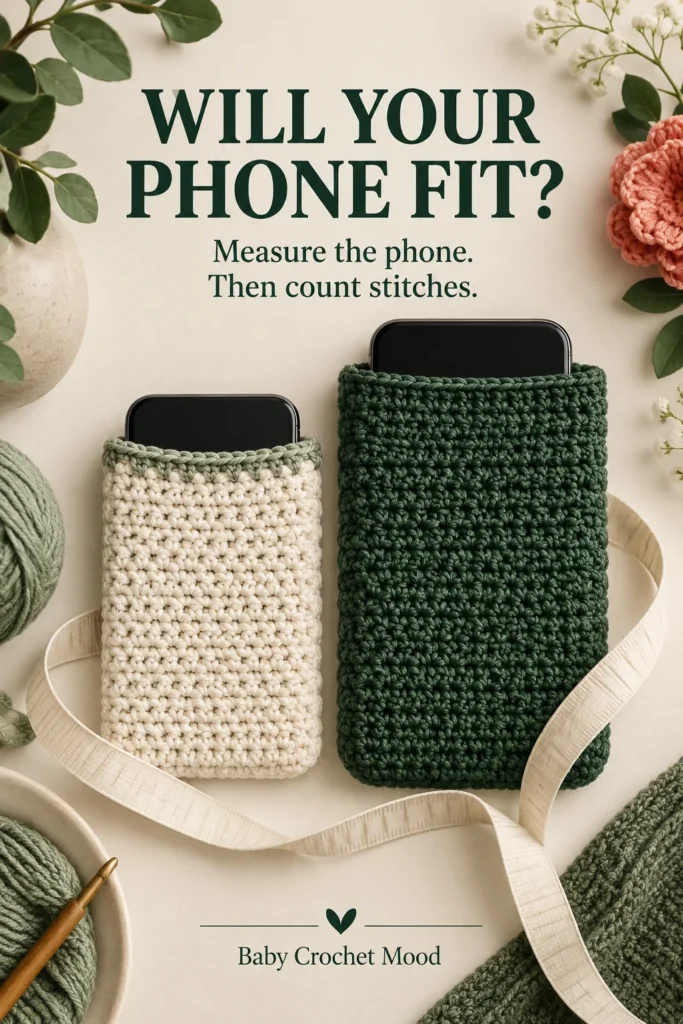
Start with the exact iPhone model
Apple’s iPhone 18 Pro specifications, checked on September 12, 2026, list the following body dimensions. These are reference dimensions for the handset, not measurements of a protective case or a crocheted sleeve.
| Model | Height | Width | Depth |
|---|---|---|---|
| iPhone 18 Pro | 150.0 mm | 71.9 mm | 8.75 mm |
| iPhone 18 Pro Max | 163.4 mm | 78.0 mm | 8.75 mm |
Source: Apple’s iPhone 18 Pro and Pro Max technical specifications. This page covers those two named models; do not transfer the table to another phone simply because its name or screen size looks similar. The illustration is not a scale drawing of either device.
Why a 6.3-inch screen does not give a pouch width
A screen measurement describes a diagonal. A pouch must accommodate the outside body in three dimensions. Turning that diagonal directly into a foundation chain ignores the phone’s proportions, thickness and the way fabric bends around the edges.
Likewise, the flat front width alone is too small for a two-panel pouch. Each panel needs to contribute fabric around the sides. The simplest way to include that volume is to wrap a flexible tape around the width and depth together, then work from half that circumference.
Measure the phone as it will be used
- Put the everyday case on the phone. Include a grip or attachment if you intend to leave it fitted.
- Wrap the tape across the screen, around both side edges and across the back. Record the largest short circumference as C.
- Slide the loop along the phone to check where the opening must be widest. A raised attachment can be more important than the middle of the handset.
- Measure from the desired front top edge down around the bottom and back to the matching rear top edge. Record this long wrap as U.
- Repeat both measurements. If they disagree, check whether the tape slipped, tilted or compressed the case.
A paper strip can replace a tape: mark where the ends meet, lay it flat and measure with a ruler. Use a strip that bends around the body without tearing. Do not draw directly on the phone or rely on a mock-up unless its case dimensions match the intended device.
Convert the short wrap into a panel width
For the folded-rectangle recipe, start with W = C ÷ 2 + E + 2S. W is the raw crochet width. E is extra width per flat panel for the fit you want. S is the amount lost at each of the two side seams. Adding 2S accounts for the left and right edge of a panel; do not add the same allowance again after calculating stitches.
For example, C = 18 cm, E = 0.4 cm and S = 0.3 cm give W = 9 + 0.4 + 0.6 = 10 cm. These allowances are trial values. A dense fabric, broad seam or lining can require a different result. Baste the actual fabric around the actual phone before committing to the final seams.
Use the long wrap for a folded bottom
The rectangle in our beginner recipe folds at the bottom rather than having a separate bottom seam. Its target length is L = U + 2M, where M is the extra coverage at each top edge. With U = 34 cm and M = 0.5 cm, L = 35 cm. The fold divides that length between the front and back.
This formula does not automatically transfer to every bag. A pouch made from two separate panels needs an allowance for the bottom join as well. A boxed base or gusset changes the geometry again. Choose the construction first, then calculate its pieces.
Turn centimetres into a stitch count
Measure the finished, dry swatch in the same stitch you will use for the sleeve. At 20 stitches per 10 cm, a 10 cm rectangle needs 20 stitches. At 24 stitches per 10 cm, the same width needs 24. Neither count is more correct; each belongs to its own fabric.
Use the stitch and row calculator to check the arithmetic. Select a repeat of one for plain single crochet. Round the width up to a whole stitch, then check the actual width after several rows. A stitch calculation cannot correct a foundation chain that is much tighter than the rest of the work.
Diagnose the fit before unravelling everything
- Tight only at the mouth: inspect the foundation and finishing edges. A tight edging may be restricting otherwise adequate fabric.
- Tight all the way down: the usable circumference is too small. Check gauge, seam take-up and the case measurement.
- Loose across the width: try a slightly deeper temporary seam. If that creates a bulky ridge, reduce the raw panel width instead.
- Too short: check the long wrap and whether the bottom fold consumes more fabric than expected. Add rows before finishing.
- Fits before lining, tight afterwards: make the lining first as a separate test pouch, then allow the outer layer to fit around it.
Keep a written fit record with the exact case and yarn. Recheck whenever either changes. For fabric selection, continue with choosing yarn and stitches; for an inner layer, use the lining guide.