A granny-square phone pouch is a satisfying way to use a small colour palette, but a square motif does not automatically make a phone-sized panel. Plan the joins and borders before making four matching squares. That lets you keep the motif balanced while fitting an iPhone 18 Pro or Pro Max in its everyday case.
This is a construction and sizing guide with a basic granny-square practice motif. It is not a physically tested, fixed-size iPhone pattern. Work in US terms: double crochet means UK treble crochet, and single crochet means UK double crochet. Prefer a plain first project? Use our folded single-crochet sleeve and printable PDF.
Choose a layout before choosing colours
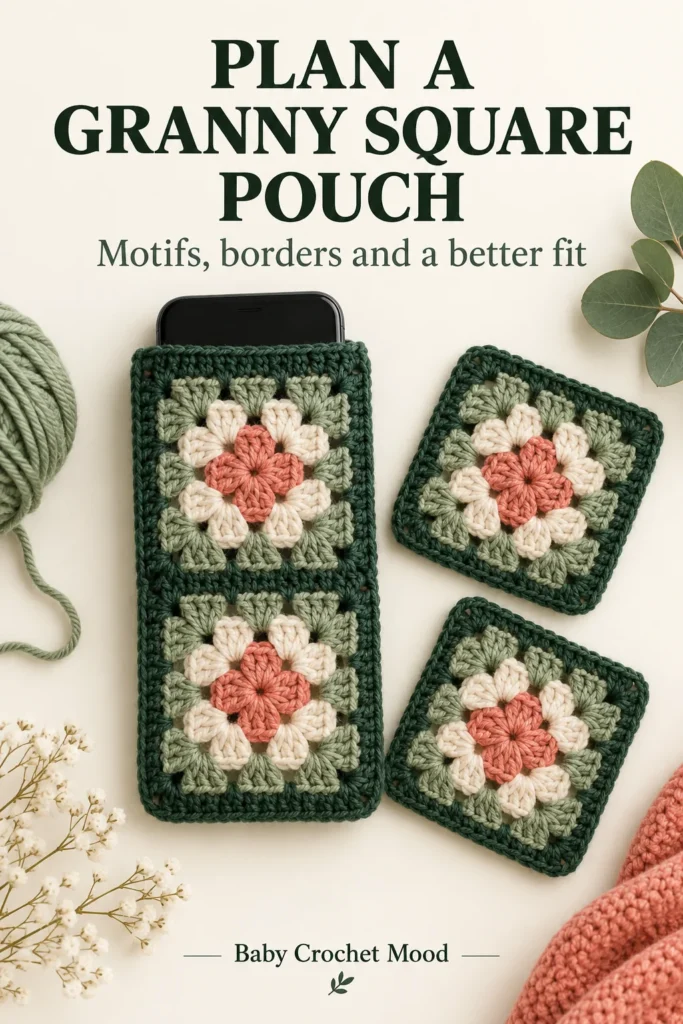
A useful starting layout is two squares stacked vertically on the front and two on the back. Join each pair into a rectangle, then add straight side strips or top-and-bottom rows only where needed. The two completed panels join along the sides and bottom, leaving the top open.
Measure your phone first using the phone pouch sizing guide. For separate panels, include the bottom seam take-up in each panel’s raw height. The folded-rectangle recipe has no bottom seam, so its length calculation cannot simply be copied unchanged.
Make one basic practice square
Use a smooth yarn and a comfortable hook. Abbreviations: ch = chain; dc = double crochet; sl st = slip stitch. In the following motif, a beginning ch 3 counts as one dc. A corner is always (3 dc, ch 2, 3 dc) in a corner space after Round 1.
- Start: ch 4 and sl st into the first chain to form a ring.
- Round 1: ch 3, work 2 dc into the ring, ch 2. Work (3 dc into the ring, ch 2) three times. Sl st to the top of the beginning ch 3. You have four 3-dc groups and four ch-2 corners: 12 dc total.
- Round 2: sl st across the next two dc and into the first corner space. In that space work ch 3, 2 dc, ch 2, 3 dc. Ch 1. Work (a corner in the next ch-2 space, ch 1) three times. Join to the top of the beginning ch 3. You have 24 dc, four ch-2 corners and four side ch-1 spaces.
- Round 3 and later: sl st across the next two dc and into the first corner. Begin that corner with ch 3, 2 dc, ch 2, 3 dc. For each side, work (ch 1, 3 dc in the next side ch-1 space) across all its side spaces, then ch 1. Work a corner in each remaining ch-2 space. After completing the final side and its last ch 1, join to the top of the beginning ch 3.
Each round adds one 3-dc group to every side: Round 3 has 36 dc; Round 4 has 48 dc. The four corner ch-2 spaces remain. Stop when the washed, dry motif is appropriate for your panel plan. For changing colours, fasten off after a complete round and join the new yarn in a corner; begin that round’s first corner there.
Measure the square after care
Wash and dry the practice square according to the yarn label. Lay it flat without pulling the corners outward. Measure its side length and compare opposite edges. A square that only reaches the target when stretched hard will not give a reliable pouch size.
Make a second matching square and temporarily join the pair. The join can consume or add height, depending on whether it overlaps the edges or introduces extra stitches. Measure the joined pair directly. This is more reliable than doubling the loose-square measurement and assuming the join has no effect.
Use borders to solve the rectangle
Imagine that your two joined squares measure 8 cm wide and 15.8 cm tall, while your raw panel target, including all seam allowances, is 10 × 18 cm. You need 2 cm more width and 2.2 cm more height. Plan approximately 1 cm at each side and 1.1 cm at the top and bottom, then translate those distances through a border swatch.
A full border round grows width and height together. If that solves one measurement but overshoots the other, add rows to selected edges instead. For a straight strip, join at one corner, work single crochet evenly across that edge, chain 1 and turn, then work back over those stitches. Check that the strip lies flat. Fasten off when it reaches the needed depth. Repeat at the opposite edge and remeasure.
There is no universal number of single crochet stitches to put along every granny-square edge: your dc height, chain spaces and gauge matter. Mark equal sections, distribute stitches consistently and adjust if the strip waves or pulls inward. Record the successful count and use it on the matching panel.
Assemble two matching panels
Make the second panel to match the finished dimensions of the first. Weave colour tails securely through the corresponding colour areas before assembly. Align the panels and baste the side and bottom joins using the planned seam positions. Check the phone fit over a table, then replace the temporary joins with matching yarn if the opening and depth are comfortable.
Remove the phone before sewing. Match corresponding edge points and keep the seam tension even so it does not gather the panels. Do not join the top edges. Because granny fabric contains deliberate openings, consider a lining before the final fit check; our lining guide explains the separate inner pouch.
Keep the first version simple
Use three or four colours, keep the opening plain and skip a strap while you establish the panel size. The concept image shows a possible colour arrangement, not the exact result of a tested pattern. Your motif size and borders determine the final look. Save the successful square round count, border measurements and seam positions so a second pouch starts with useful information.