A crochet gauge swatch answers a practical question: will this yarn, this hook and your stitches make the size the pattern expects? Count stitches across a measured distance and rows up the fabric. Compare both numbers with the pattern before you start the full piece.
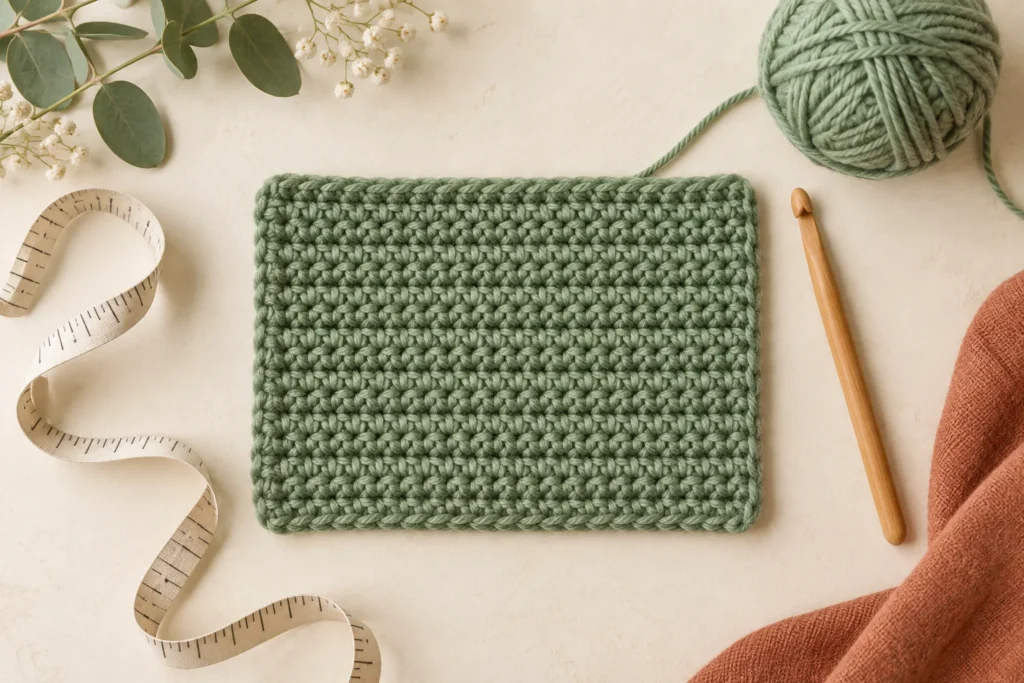
Quick answer: more stitches within the same distance means smaller stitches. Try a larger hook. Fewer stitches means larger stitches; try a smaller hook. Make another sample and measure again. A hook label alone cannot tell you the finished size.
Read exactly what the pattern asks you to measure
A gauge statement might say “16 stitches and 12 rows = 10 cm in half double crochet, after blocking.” That gives you four pieces of information: the stitch count, the row count, the measured distance and the fabric condition. A sample in single crochet cannot verify the gauge of a textured stitch pattern.
Check whether the sample should be made in rows or rounds, and whether the designer counts individual stitches or pattern repeats. If you are unsure what the symbols mean, keep our pattern-reading guide nearby. Also check the terminology: US half double crochet is UK half treble.
Make a swatch with room around the measuring area
Use the project yarn and the hook you plan to use. Make the sample larger than the area you will measure, so the foundation, turning edges and final row can sit outside it. For a 10 cm measurement, a roughly 15 cm square is a useful starting point; large stitch repeats may need more room. This approach follows the Craft Yarn Council’s crochet instructor guidance.
- Write down the yarn, hook size in millimetres and stitch pattern.
- Use the pattern’s starting-chain multiple to make a generous sample. Do not assume every chain becomes a stitch.
- Work enough rows to leave a central area clear of the top and bottom edges.
- Finish and treat the sample as specified by the pattern, following the yarn’s care instructions. Let it dry completely before taking a final measurement.
- Place it on a flat surface without stretching it to fit a ruler.
For lace or textured fabric, the finishing method can change the shape considerably. Our blocking guide explains how to choose a method that suits the fibre. Keep an untreated measurement too if you want to see how much the fabric changes.
Measure stitches and rows separately
Lay a ruler across the middle, level with one row. Count the stitches within the pattern’s stated distance. Include part of a stitch when the endpoint falls between stitches; rounding every reading to a whole number can hide a useful difference. Move the ruler to another central row and check again.
Now turn the ruler vertically and count rows over the same stated distance. Keep it perpendicular to the rows rather than following a slanted edge. If counting is difficult, identify several consecutive stitches first with our stitch-counting guide.
Use one unit consistently. Four inches equals 10.16 cm, although patterns often give the convenient paired label “4 in / 10 cm.” Follow the unit used for the dimensions you are calculating instead of switching midway through your notes.
See what a small difference does to a project
Suppose a simple rectangular panel uses 80 stitches. The intended gauge is 16 stitches per 10 cm. Its calculated width is 80 ÷ 16 × 10 = 50 cm. Here is what happens when you keep the stitch count but change the gauge:
| Your gauge per 10 cm | Calculated width | Difference from 50 cm |
|---|---|---|
| 14 stitches | 57.1 cm | About 7.1 cm wider |
| 16 stitches | 50 cm | Matches the target |
| 18 stitches | 44.4 cm | About 5.6 cm narrower |
These are arithmetic examples, not measurements from a finished garment. They show why “only two stitches different” can matter. You can enter your own measured gauge in the stitch and row calculator; account for the pattern repeat and any separate border afterwards.
Choose one adjustment, then measure again
The Craft Yarn Council’s gauge sheet recommends a larger hook when you have too many stitches per inch, and a smaller hook when you have too few. Change one variable at a time so your notes tell you what helped.
If stitch gauge matches but row gauge does not, do not automatically change the hook again. First check the stitch, turning method and finishing instructions. A garment with shaping at specific rows needs its row gauge checked carefully. A plain scarf worked to a measured length offers more flexibility, although the yarn requirement can change.
Check the fabric as well as the numbers. If a hook produces the target count but the fabric feels much too open or stiff for the project, review the yarn choice. Our yarn-substitution checklist covers length, construction and fibre, beyond the weight category on the label.
Keep a small gauge record with the project
Save the sample and a note with the hook, stitch count, row count, measured span and finishing method. Add a date if you are comparing several attempts. You can photograph the ruler in place for your own reference, but keep the written numbers too.
Check the real project after a few rows, once there is enough fabric to measure sensibly. If it has drifted from the sample, pause while only a small section needs attention. Gauge is most useful when it helps you make that decision early.