An envelope-back pillow cover is made from one front panel and two overlapping back panels. The overlap gives you an opening for the insert without requiring a zip, but it needs enough depth to stay closed when the cushion is used.
This guide explains the panel measurements and assembly. It is not a fixed-size, physically tested pillow pattern. Measure your own insert and sample fabric before choosing stitch counts.
Measure the insert and the finished fabric
Measure the insert’s width and height along its edges without compressing it. Then make a generous swatch in the yarn and stitch you plan to use. Finish the swatch according to the label and measure both stitches and rows per centimetre across its central area.
A dense single-crochet fabric provides a different fit from an open granny stitch. If the fabric is open, the insert’s colour may show through; a suitable inner cover can keep the appearance consistent. Decide this before buying the outer yarn.
Calculate the three panel shapes
Let W be the target assembled width, H the target assembled height and O the planned overlap. The front covers W by H. Each of two equal back panels covers W by (H + O) ÷ 2. These are coverage measurements before accounting for any fabric taken up by the chosen seams.
| Part | Example for 40 × 40 cm coverage and 10 cm overlap |
|---|---|
| Front | 40 × 40 cm |
| Upper back | 40 × 25 cm |
| Lower back | 40 × 25 cm |
| Overlap check | 25 + 25 − 40 = 10 cm |
This example explains the geometry; it does not prescribe the best fit for every 40 cm insert. Thick seams, fabric stretch and the fullness of the insert all affect the finished cover. Baste and test before committing to permanent seams.
Convert coverage to stitches and rows
If a finished swatch has 16 stitches across 10 cm, the stitch gauge is 1.6 per centimetre. A 40 cm coverage width suggests 64 stitches before seam adjustments. If the row gauge is 18 rows per 10 cm, 40 cm suggests 72 rows and 25 cm suggests 45 rows.
Those numbers only apply to that example swatch. Round to a count compatible with your chosen stitch repeat, then measure the actual panel as you work. The stitch and row calculator can help convert your own gauge into a starting plan.
Decorate the front while it is flat
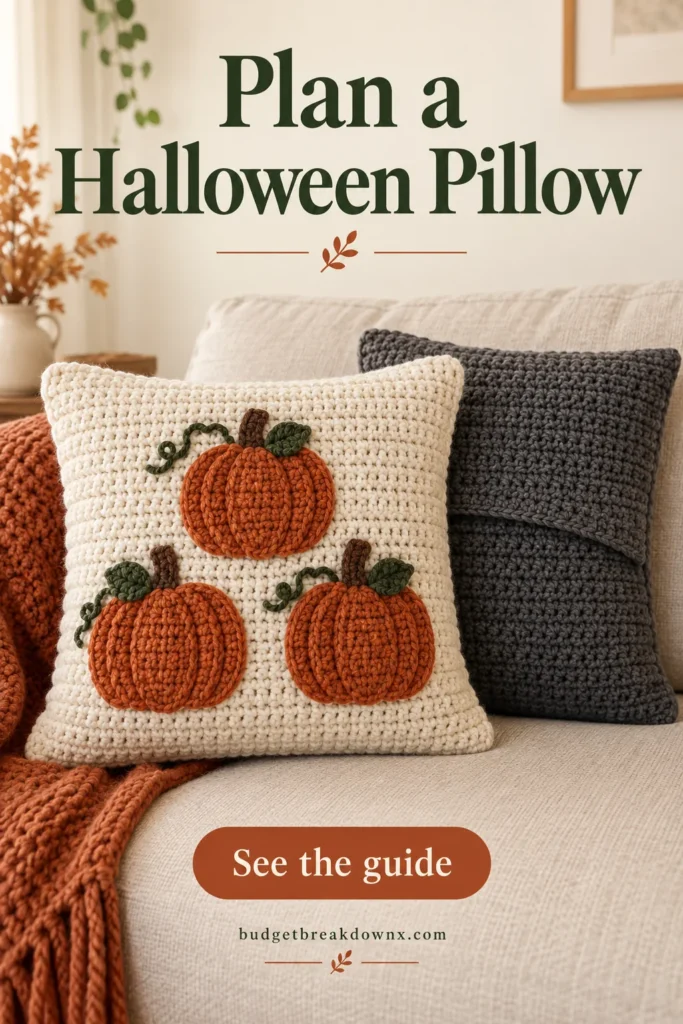
Use a few ghost appliques or cat heads, or keep the decoration to orange and charcoal stripes. The illustrated pumpkin arrangement is a styling concept; this page does not include that exact pumpkin applique pattern.
Mark the seam area around the front panel and keep motifs inside it. Baste the arrangement before sewing. Avoid heavy raised pieces where someone will lean against the cushion, and check that the embroidery or applique stitches do not pucker the background.
Assemble and check the envelope opening
- Finish the two edges that will form the back opening before joining the cover.
- Place the front right side up. Put the two back panels right side down over it, with their finished opening edges overlapping in the centre.
- Align the outer corners and baste around all four sides, catching both back layers where they overlap.
- Turn through the opening and insert the cushion. Check the corners, width and back closure.
- Remove the insert, adjust if needed, then sew the permanent seams and secure the ends.
If the back gapes, the overlap may be too shallow or the cover too tight. If the corners sag, the panels may be too large or the fabric too loose. Correct the panel plan rather than adding a tight band across the opening.
Keep it easy to clean
Choose care-compatible yarns for the panels and motifs. Remove the insert before washing the cover and reshape it according to the yarn label. Save the successful panel counts and actual finished measurements so you can make a second seasonal cover without starting the sizing process again.
Keep making
- Halloween Crochet Granny Squares: Plan a Matching Set
- Crochet Ghost Applique: A Flat Motif for Halloween
- Halloween Crochet Table Runner: Stripes, Size and Straight Edges
Explore the Halloween crochet collection · Visit the crochet learning library