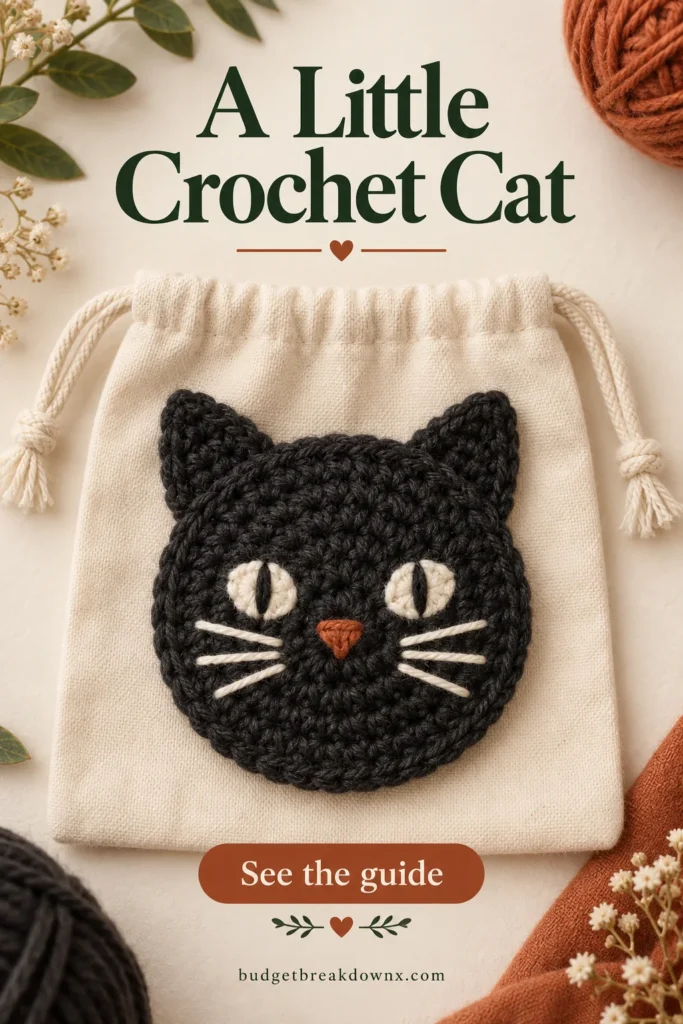
A black cat head is easy to recognise when the ears are clear and the face has enough contrast. You can build that shape from a flat circle and two separately worked triangles, then sew it to a bag, cushion or crochet square.
Charcoal yarn often makes the stitches easier to see than very dark black. Cream embroidery gives a softer contrast than bright white; a small orange nose can connect the motif to the rest of a Halloween palette.
Materials and counting conventions
Use smooth yarn, a compatible hook, a stitch marker, a blunt needle and contrasting embroidery yarn. Work the head in continuous rounds. Move the marker into the first stitch of each new round and do not add joining chains to the counts.
Terms: ch = chain; sc = single crochet; inc = 2 sc in one stitch; sc2tog = work two stitches together to make one. The ear turning chains do not count as stitches.
Pattern note: The stitch arithmetic in this original practice recipe has been checked, but the project has not been physically sample-tested. Make a small trial before using special yarn or producing a matching set. US crochet terms are used.
Make the round head
- Round 1: 6 sc in a magic ring; draw the centre closed: 6 stitches.
- Round 2: inc in each stitch: 12 stitches.
- Round 3: (sc, inc) 6 times: 18 stitches.
- Round 4: (2 sc, inc) 6 times: 24 stitches.
- Round 5: (3 sc, inc) 6 times: 30 stitches.
- Slip stitch into the next stitch to soften the finishing step, fasten off and weave in the tail.
Six increases per round are a starting structure for this small single-crochet disc. The fabric should lie reasonably flat. Count first if it cups or ripples; then consider tension and yarn behaviour. Do not add extra stitches randomly to one section, because that can make the face visibly uneven.
Make two small ears
For each ear, ch 5. Row 1: sc in the second chain from the hook and across, giving 4 sc. Row 2: ch 1, turn, sc2tog twice, giving 2 stitches. Row 3: ch 1, turn, sc2tog once, giving 1 stitch. Fasten off, leaving a sewing tail.
Make both ears before attaching either. Compare their base widths and heights. If one is larger, recount it and check whether the first chain was tighter. The four-stitch foundation edge is the base that will attach to the head; the single-stitch end is the point.
Position the ears and face
Lay the head down and place a temporary vertical strand through its centre. Baste the ear bases onto the upper left and upper right edges at matching distances from that centre line. Angle the tips outward slightly if you prefer a wider silhouette. Sew the bases securely while keeping the head flat.
Use small pieces of contrasting yarn to plan the eyes before stitching. Remove those temporary pieces and embroider the actual features. Two short curved lines can suggest closed eyes, while a few compact stitches can make simple open eyes. Add a small nose below the midpoint between them.
Whiskers need only a few short stitches on each side. Long loose strands can snag, so stitch the lines down and secure the ends at the back. Avoid tightening several facial stitches into the same point; that can dent the centre of the disc.
Sew it to the finished surface
Place the applique on the actual project and check its scale. On a granny square, leave the corner and joining spaces clear. On a mug cozy, keep it away from the fastening area. On a pouch, insert a card barrier so your needle does not catch the back layer.
Baste first, then sew around the outer edge with small stitches. Check that both the motif and the background remain relaxed. The ears may need a few extra attachment stitches if you want them to lie flat rather than stand slightly away from the surface.
This recipe makes a decorative cat head, not a complete cat body. For a matching display, combine it with a flat ghost or use the same charcoal yarn in the granny-square guide.
Keep making
- Halloween Crochet Granny Squares: Plan a Matching Set
- Halloween Crochet Mug Cozy: Fit It Around the Handle
- Halloween Crochet Headband: Fit an Adult Band and Add Motifs
Explore the Halloween crochet collection · Visit the crochet learning library