A flat ghost applique adds a Halloween detail without turning the whole project into amigurumi. Sew one to a fabric pouch, a crochet panel or a decorative garland. The small recipe below starts at the lower body and narrows toward the head, so you can see every shaping row as you work.
Keep the first version plain. Two embroidered eyes usually read more clearly than several tiny features, especially when the motif will be viewed from a distance.
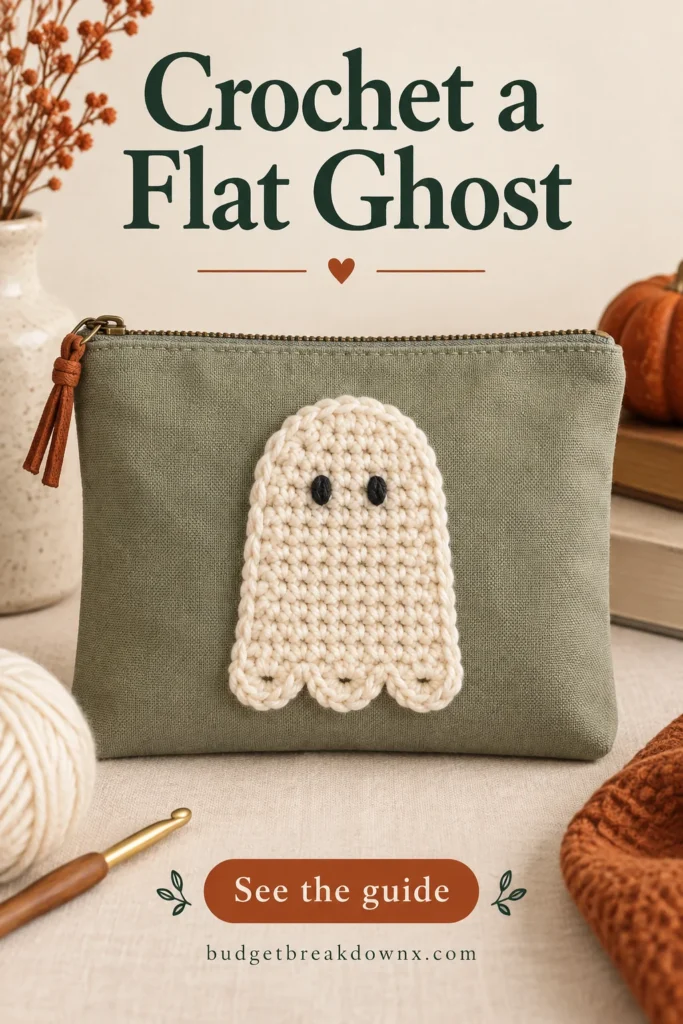
Before the first row
Choose cream or white smooth yarn, a matching hook, dark embroidery yarn, a blunt needle and scissors. Use the same yarn weight as the surface you plan to decorate, or a slightly finer yarn if you want a lighter applique. A heavy motif can pull a thin pouch out of shape.
Terms: ch = chain; sc = single crochet; sc2tog = single crochet two stitches together; sl st = slip stitch. An sc2tog uses two stitches from the previous row and makes one new stitch. The ch-1 turning chain is not counted.
Pattern note: The stitch arithmetic in this original practice recipe has been checked, but the project has not been physically sample-tested. Make a small trial before using special yarn or producing a matching set. US crochet terms are used.
Crochet the body and rounded top
- Foundation: ch 13.
- Row 1: sc in the second chain from the hook and each chain across: 12 sc.
- Rows 2–8: ch 1, turn, sc in each stitch: 12 sc per row.
- Row 9: ch 1, turn, sc2tog, sc in the next 8 stitches, sc2tog: 10 stitches.
- Row 10: ch 1, turn, sc2tog, sc in the next 6 stitches, sc2tog: 8 stitches.
- Row 11: ch 1, turn, sc2tog, sc in the next 4 stitches, sc2tog: 6 stitches.
- Row 12: ch 1, turn, sc2tog, sc in the next 2 stitches, sc2tog: 4 stitches. Fasten off.
Lay the piece down with the narrow end at the top. The shaping makes a stepped curve rather than a perfect semicircle. A light finishing pass with your fingers can settle the fabric; follow the yarn label if you decide to wash or block it.
Give the lower edge three small scallops
Find the underside of the foundation edge. Mark its two corners and the points one-third and two-thirds of the way across, dividing the 12-stitch width into three equal spans. Join yarn with a slip stitch at one corner. Ch 5 and slip stitch at the first marked point; ch 5 and slip stitch at the second; ch 5 and slip stitch at the far corner. Fasten off and weave in the ends.
These are small chain loops, not an extra row of body stitches. If your chains pull the edge inward, make them more loosely or add a chain to each loop consistently. If they hang too far below the body, shorten all three. Check the result before sewing the applique down.
Place the face before attaching the ghost
Lay two short dark strands on the upper body to decide the eye spacing. Remove them, then embroider each eye with a few small stitches. Keep the back tidy and secure the tails within the motif. Do not pull the eyes so tight that the cream fabric puckers.
Try the motif on its destination before stitching. On a pouch, put a piece of card inside so you do not accidentally sew the front to the back. On a crochet panel, pin or baste the ghost while the panel lies flat. Sew around the body with small stitches, taking care not to stretch either layer.
Fix the two most common shape problems
One side is longer: count the stitches before the shaping section. Missing an edge stitch in rows 2–8 changes the later decrease placements. Undo to the first incorrect row rather than trying to hide a large difference with the seam.
The ghost curls after attachment: the sewing thread may be too tight, or the base fabric was stretched while sewing. Release a short section and reattach with both layers relaxed. A garland motif needs two upper attachment points to reduce spinning; the garland guide explains their placement.
Keep making
- Crochet Halloween Garland: Motif Spacing and Assembly
- Crochet Halloween Treat Bag: Panels, Handles and Lining
- Halloween Crochet Pillow Cover: Envelope-Back Sizing
Explore the Halloween crochet collection · Visit the crochet learning library