A small Halloween treat bag can start with two rectangles. That simple construction leaves room to practise sturdy seams, matching handles and a tidy lining before trying shaped bases or complicated colourwork.
The version below has a flat bottom seam and no gusset. It will not stand like a rigid basket, and its capacity depends on the yarn, fabric and finishing. Treat the first bag as a sample and check it with the light contents you actually plan to carry.
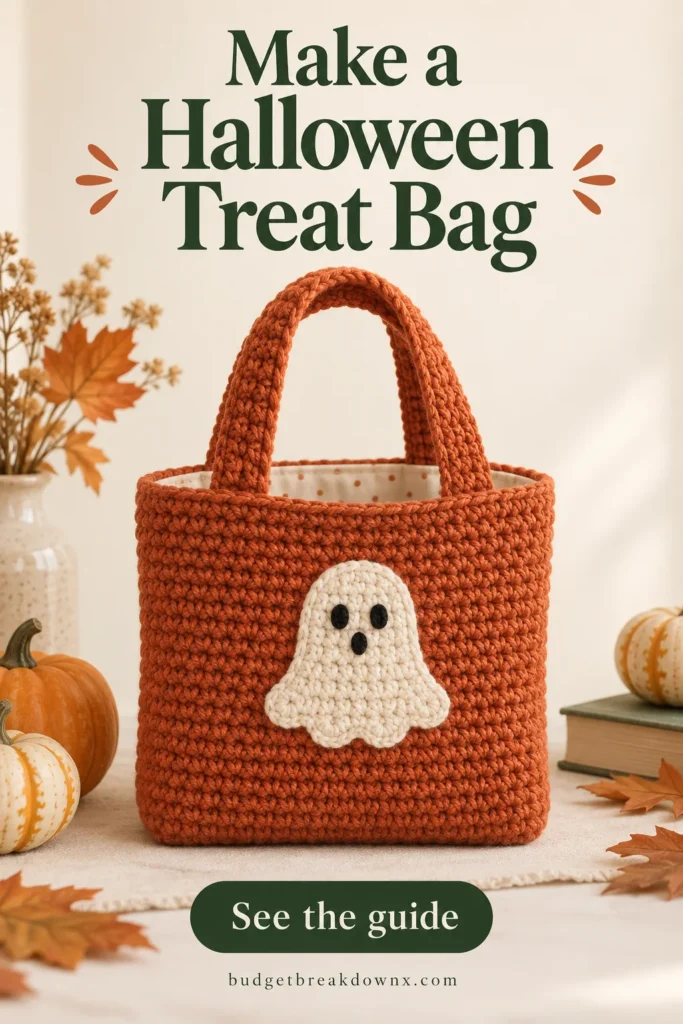
Choose the fabric before the decoration
Use a smooth yarn that produces a reasonably dense fabric, with a hook that lets you work comfortably without leaving large gaps. You need a blunt yarn needle, scissors, stitch markers and, if lining, suitable woven fabric and sewing supplies. Keep the lining and yarn care instructions compatible.
Orange panels with a cream ghost applique are one option. Charcoal panels with a candy-corn triangle give a different look without changing the bag construction. Attach the motif before adding the lining.
Pattern note: The stitch arithmetic in this original practice recipe has been checked, but the project has not been physically sample-tested. Make a small trial before using special yarn or producing a matching set. US crochet terms are used.
Make two matching panels
Terms: ch = chain; sc = single crochet. The turning chain does not count as a stitch.
- For the first panel, ch 25. Sc in the second chain from the hook and across: 24 sc.
- For each following row, ch 1, turn and sc in every stitch: 24 sc.
- After several rows, measure the width. Restart with a revised stitch count if it does not suit your intended bag.
- Continue until the panel reaches your chosen height. Record both its measurement and row count, then fasten off.
- Make a second panel with the same stitch and row counts. Finish both in the same way and compare their dimensions.
There is no fixed finished size attached to 24 stitches. For instance, 24 stitches at 1.6 stitches per centimetre make about 15 cm before seams, while a different gauge changes that width. Measure your actual fabric rather than treating the example as a size guarantee.
Join three sides
With the intended outside faces together, align the panels and mark the bottom corners. Sew down one side, across the base and up the other side, matching corresponding rows and stitches. Leave the top open. Turn the bag right side out and inspect the corners.
Keep the seam snug enough to close gaps without gathering the edges. If one side has to be stretched to match the other, compare the panel counts before sewing farther. A lining can support the contents, but it will not correct a twisted outer shell.
Make and place two handles
For a simple handle strip, ch 5 and work 4 sc across. Continue in rows of 4 sc, with ch 1 and turn, until the strip reaches your chosen length. Make a second strip to match. These narrow practice handles are for a small, lightly filled bag, not a stated load rating.
Pin one handle to each panel, leaving enough overlap below the top edge for a broad attachment area. Check that both handles rise to the same height. Sew each end with several secure passes over the overlap rather than attaching it through a single row. Test the empty bag before adding contents.
Fit a lining to the completed bag
Measure the inside width and height after seaming. Cut two lining rectangles with your chosen seam allowances and a top turn-under allowance added. Sew their sides and base, test the lining inside the crochet shell, and adjust before attaching its top edge by hand.
The lining should sit against the base without hanging lower than the crochet or pulling the top inward. Keep the handle attachments accessible for inspection. Check the finished bag for loose ends and open seams, and avoid long trailing ties that could catch while it is being carried.
Keep making
- Crochet Ghost Applique: A Flat Motif for Halloween
- Crochet Candy Corn Decoration: A Flat Triangle Recipe
- Halloween Crochet Granny Squares: Plan a Matching Set
Explore the Halloween crochet collection · Visit the crochet learning library