A coordinated set of Halloween granny squares needs more than the same number of rounds. The squares should have compatible edge counts, similar finished dimensions and fabric that behaves consistently after washing. Colour can vary freely once those basics agree.
Start with a plain three-round square, then decide whether to add a ghost or cat applique. Separating the square from the motif makes it easier to fix the size without also changing a complicated picture design.
Pick the joining size first
Use yarns of similar thickness and choose one hook for the first samples. Make a square in each main colour if the yarns come from different ranges. Measure both width and height after the finishing treatment you intend to use for the final project.
Keep a record of the hook, round count, side measurements and corner-chain size. For joined work, measure at the same place each time: from outer corner to outer corner without stretching. Two squares that both have three rounds can still differ enough to make a seam pucker.
Pattern note: The stitch arithmetic in this original practice recipe has been checked, but the project has not been physically sample-tested. Make a small trial before using special yarn or producing a matching set. US crochet terms are used.
A three-round practice square
Terms: ch = chain, dc = US double crochet, sl st = slip stitch, sp = space. A cluster here means 3 dc worked into the same space. The starting ch 3 counts as the first dc. Every corner is (3 dc, ch 2, 3 dc), except where the beginning and end of a round together complete that corner.
- Round 1: ch 4 and join with a sl st to form a ring. Ch 3, work 2 dc into the ring, ch 2. Work (3 dc into the ring, ch 2) three times. Join to the top of the starting ch 3. Count 12 dc and four ch-2 corner spaces.
- Round 2: sl st across the next two dc and into the corner space. Ch 3, 2 dc, ch 2, 3 dc in that corner, then ch 1. In each of the next three corners work (3 dc, ch 2, 3 dc), ch 1. Join to the top of the starting ch 3. Count 24 dc, four ch-2 corners and four ch-1 side spaces.
- Round 3: sl st across the next two dc into the corner. Work the beginning corner as in round 2. Ch 1, 3 dc in the next ch-1 side space, ch 1. Repeat (corner in next ch-2 space, ch 1, 3 dc in next ch-1 space, ch 1) three times. Join and fasten off. Count 36 dc, four ch-2 corners and eight ch-1 side spaces.
All dc groups go into spaces, not into individual stitch tops. If a corner disappears, find the four ch-2 spaces before continuing. For more rounds, keep one cluster in each side space and one complete corner in every corner space.
Use colour without losing the structure
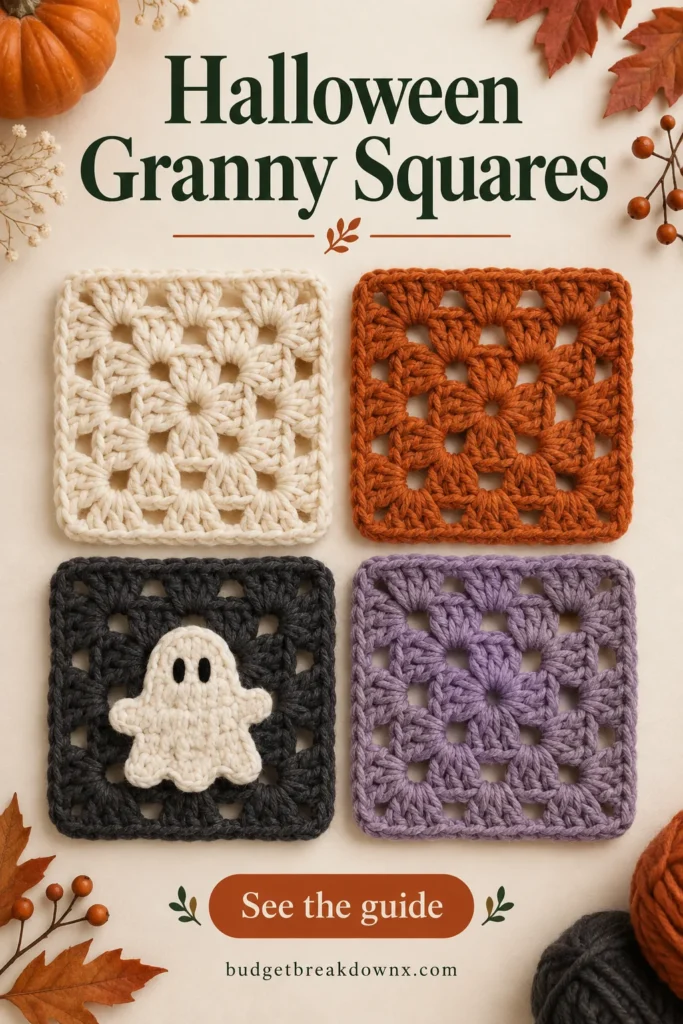
Try cream at the centre, orange in the middle and charcoal around the outside. A shared final-round colour can tie several different centres together. If you prefer solid squares, repeat the same three or four colours across the whole set.
For a colour change, finish the previous round and join the new yarn at a corner. Keep the same starting-chain convention. Weave the tails into their matching colour areas so they do not show through the open spaces.
Add a motif that fits inside the border
Lay a flat ghost or cat head on the finished square before sewing. It should leave the corner spaces and intended joining edge accessible. If it covers them, choose a smaller motif or a larger square instead of forcing the corners underneath.
Sew with the square lying flat, catching the motif edge and nearby solid stitch groups. Avoid tightening a long thread across an open granny space. Check the back periodically so you can release a puckered area before finishing the entire outline.
Check the set before joining
Arrange every square on a table and rotate any directional motifs into place. Compare edge counts as well as measurements. Gentle blocking can settle minor differences; it should not be used to conceal an extra cluster or a missing corner. Photograph your chosen arrangement for your own assembly notes, then join one pair and check the seam before completing the whole set.
Keep making
- Crochet Ghost Applique: A Flat Motif for Halloween
- Crochet Black Cat Applique: Circle, Ears and Face
- Halloween Crochet Pillow Cover: Envelope-Back Sizing
Explore the Halloween crochet collection · Visit the crochet learning library