A mug cozy has to fit around a handle as well as around a cup. A rectangle that looks right when laid flat can become awkward if its top edge reaches the drinking rim or its fastening blocks your fingers.
Begin with the actual mug, empty and cool. This fitting guide is for a decorative wrap around a fairly straight-sided mug. It does not establish insulation performance or make a hot mug safe to hold by the crochet.
Measure the clear area
Measure the circumference at the middle of the mug body. Then measure the height available below the drinking rim and above the base. Finally, check the handle opening: your fingers need to pass through without touching a bulky knot or raised motif.
A tapered mug needs more shaping than a straight rectangle provides. If the top is much wider than the bottom, try a different mug for the first sample or use a pattern designed for that shape. Do not tighten the lower edge until it distorts just to compensate for the taper.
Make a narrow practice strip
With smooth washable yarn and a compatible hook, ch 9. Work 8 US single crochet across, beginning in the second chain from the hook. For each following row, ch 1, turn and work 8 single crochet. The turning chain does not count as a stitch.
The eight stitches determine the wrap’s height, so measure them against the clear area on the mug. If they are too tall or too short, restart with a suitable count. Continue adding rows to extend the strip around the mug. This is an original fitting exercise, not a physically sample-tested fixed-size pattern.
For example, a 27 cm circumference with a planned 3 cm opening behind the handle suggests about 24 cm of wrap before considering stretch and the closure. That is a starting measurement, not an instruction to pull every fabric to exactly 24 cm. Test the actual strip around the mug as you approach the needed length.
Leave the handle area open
Bring the two short ends toward the handle and check where they land. They should leave a practical opening rather than overlapping heavily behind the handle. The top and bottom of the wrap should remain clear of the handle’s attachment points.
Use temporary yarn ties to assess the fit. If the wrap rotates easily, it may be too long or the fabric too loose. If the mug looks squeezed into the sleeve and the stitches are pulled open, the strip may be too short. Adjust the fabric length before adding permanent decoration.
Add a simple removable fastening
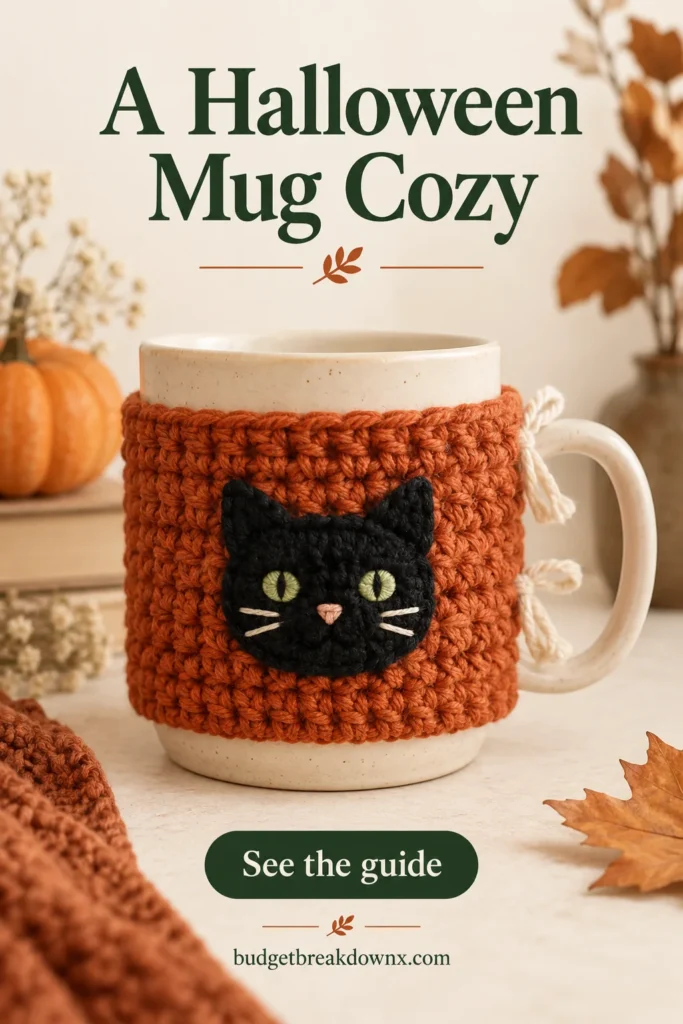
One option is a short pair of crochet-chain ties at each end of the wrap. Position them so their knots sit clear of your grip and the mug’s rim. Make the chains only as long as needed for the chosen fastening, secure their bases carefully, and trim or weave the tails so they do not trail.
The appropriate placement depends on the handle. Test the closure on the empty mug, open and close it several times, then check that you can remove the cozy without pulling on the handle. Avoid a closure that needs to be forced over a wider part of the mug.
Place the Halloween detail
A small cat head or flat ghost can sit on the side opposite the handle. Baste it while the wrap is on the empty mug, remove the wrap, and sew it with the fabric relaxed.
Leave the upper edge plain where it comes closest to your face. If the applique makes the cozy too stiff to curve smoothly, reduce its size or use embroidery instead. A seasonal stripe is enough if you prefer a simpler finish.
Use and care for the wrap
Hold the mug by its proper handle and follow the mug’s own use instructions. Remove the crochet before microwaving or placing the mug in a dishwasher. Wash the wrap according to the yarn label and let it dry fully before refitting it. Recheck the fit after washing; a loose wrap should be adjusted before reuse.
Keep making
- Crochet Black Cat Applique: Circle, Ears and Face
- Crochet Ghost Applique: A Flat Motif for Halloween
- Halloween Crochet Coasters: A Simple Striped Square
Explore the Halloween crochet collection · Visit the crochet learning library