A Halloween headband works better when the plain band fits comfortably before any decoration is added. A heavy motif can pull a loose band sideways, while a tight seam can make an otherwise soft strip uncomfortable.
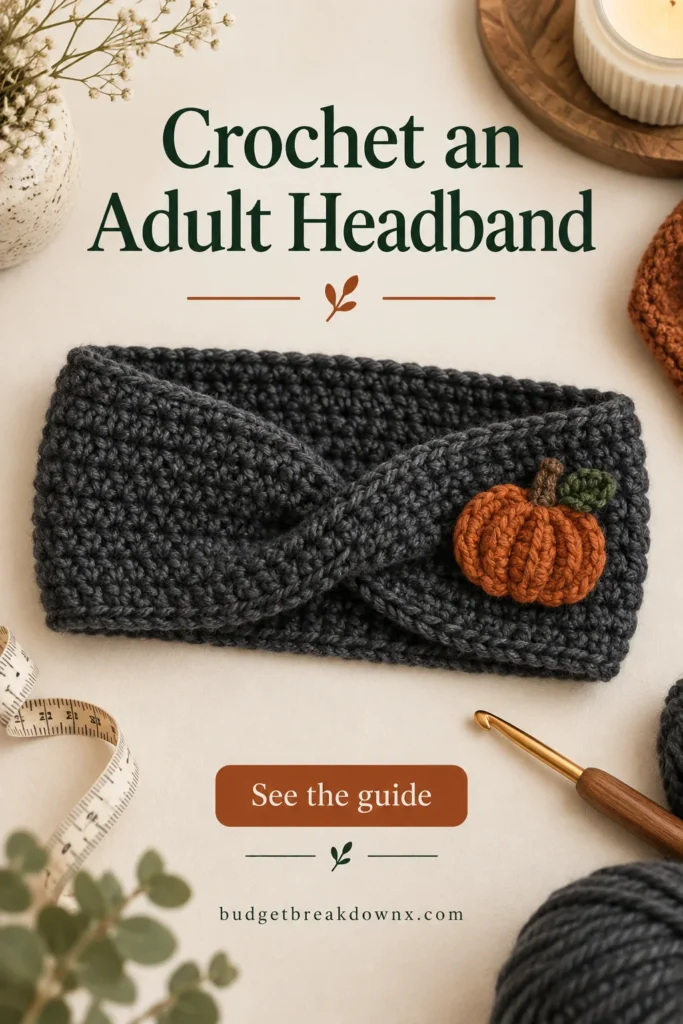
This guide is for an adult decorative headband made from a flat strip. It is not a baby or child sizing pattern. The concept image suggests a seasonal look; the basic construction below uses a simple straight seam rather than a shaped or twisted front.
Measure where the band will sit
Use a flexible tape along the intended path around the head. Keep it comfortable rather than tight, and note whether the band will sit over or behind the ears. The same head can need different lengths depending on that position and the hairstyle underneath.
Choose yarn that feels comfortable against the skin and has care instructions you can follow. A plush or hairy yarn may hide edge stitches and make a small motif less distinct. Smooth yarn is a useful choice for the first fitting sample.
Test the fabric’s stretch
Make a small strip in the stitch you plan to use, wash or finish it appropriately, and compare its relaxed length with a gently stretched length. Notice whether it returns to its original shape. A strip that stays stretched may need a different yarn, stitch or fit plan.
Do not apply a universal percentage of negative ease to every yarn. For example, a 56 cm head measurement does not automatically mean a 50 cm band. The amount you shorten the strip depends on how comfortably the actual fabric stretches and recovers.
Pattern note: The stitch arithmetic in this original practice recipe has been checked, but the project has not been physically sample-tested. Make a small trial before using special yarn or producing a matching set. US crochet terms are used.
Make a simple eight-stitch band
Terms: ch = chain; sc = single crochet. The turning chain is not counted as a stitch.
- Ch 9. Sc in the second chain from the hook and across: 8 sc.
- Ch 1 and turn. Sc in each stitch: 8 sc.
- Repeat the second row, keeping both edge stitches visible.
- Measure the width against your preferred coverage. Restart with more or fewer stitches if necessary; this changes the band’s width, not its length.
- Continue until the strip approaches the length suggested by your fitting sample.
Work through both loops for this plain version. If you prefer ribbing, use a dedicated ribbed-band method and test its stretch separately; changing loop placement changes the fabric and can change the fit.
Baste before making the seam permanent
Bring the short ends together without twisting the strip and baste corresponding stitches. Try the band on for a short period. It should stay in place without creating pressure, tugging hair or leaving a tight seam against a sensitive spot.
If it slides, check whether the strip is too long or the fabric has stretched out. If it feels tight, undo the basting and add length rather than hoping the finished piece will loosen enough. When the fit is comfortable, sew the ends together with a flat, flexible seam and weave in the tails.
Add one light Halloween motif
A small cat head, ghost or candy-corn triangle can sit just to one side of the centre. Try the position while wearing the undecorated band, mark it with a removable thread, then take the band off before sewing.
Sew with the fabric relaxed and keep the underside smooth. A large stuffed decoration can pull the band down; a flat applique is easier to balance. The illustrated pumpkin is a styling suggestion rather than an additional motif pattern supplied here.
Check the fit after care
Wash according to the yarn label and reshape gently. Let the band dry fully before trying it again. If the fabric has changed, correct the seam or length before wearing it. Keep the successful measurements with your yarn and hook notes instead of relying on a generic adult size label.
Keep making
- Crochet Black Cat Applique: Circle, Ears and Face
- Crochet Ghost Applique: A Flat Motif for Halloween
- Crochet Candy Corn Decoration: A Flat Triangle Recipe
Explore the Halloween crochet collection · Visit the crochet learning library