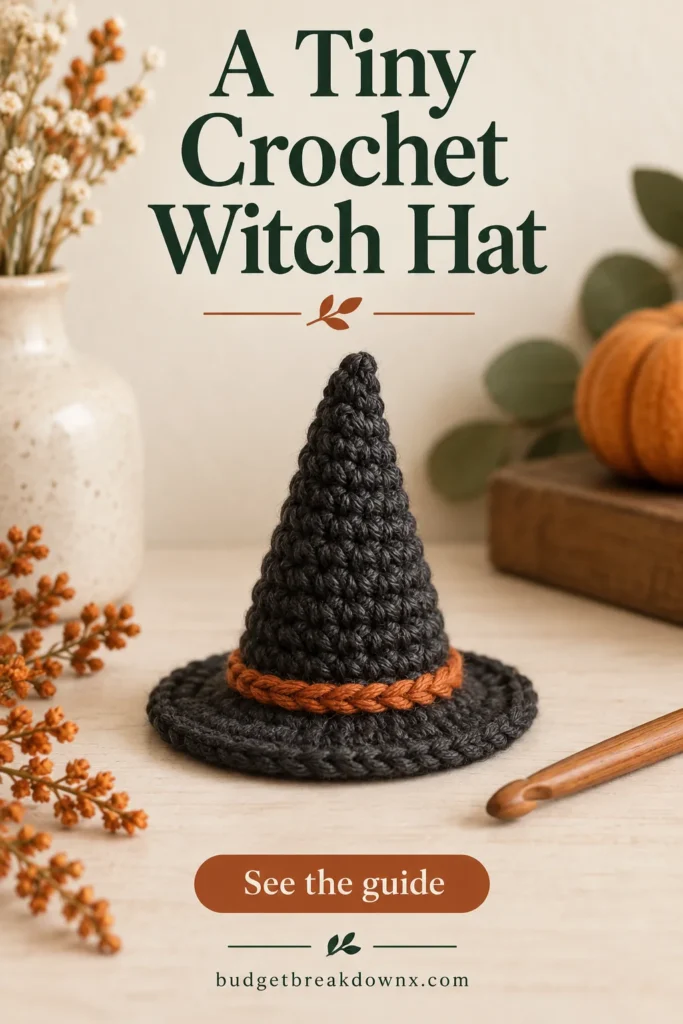
A miniature witch hat has two different shaping jobs. The cone grows slowly so it rises upward; the brim grows faster so it spreads outward. Keeping those sections separate makes a small hat easier to understand than trying to judge its shape from a picture alone.
This version is a table decoration. It is not sized as a wearable hat, and changing to a larger hook alone will not turn it into a fitted costume pattern.
Set up a small, visible project
Use smooth charcoal, purple or black yarn, a compatible hook, a locking marker, scissors and a blunt needle. Charcoal can be easier to count than deep black. Have a small amount of contrasting yarn available if you want a band around the cone.
Terms: sc = single crochet; inc = 2 sc in one stitch; FLO = front loop only. Work in a continuous spiral, moving the marker into the first stitch of each new round. Do not add joining stitches or turning chains to the counts below.
Pattern note: The stitch arithmetic in this original practice recipe has been checked, but the project has not been physically sample-tested. Make a small trial before using special yarn or producing a matching set. US crochet terms are used.
Make the cone
| Round | Instructions | Count |
|---|---|---|
| 1 | 6 sc in a magic ring; close the ring | 6 |
| 2 | Sc in each stitch | 6 |
| 3 | (Sc, inc) 3 times | 9 |
| 4 | Sc in each stitch | 9 |
| 5 | (2 sc, inc) 3 times | 12 |
| 6 | Sc in each stitch | 12 |
| 7 | (3 sc, inc) 3 times | 15 |
| 8 | Sc in each stitch | 15 |
| 9 | (4 sc, inc) 3 times | 18 |
| 10 | Sc in each stitch | 18 |
In this table, “3 sc” means one sc in each of the next three stitches. It does not mean three sc in a single stitch. Each increase round adds three stitches; the plain round after it adds height without adding width.
Turn outward for the brim
- Round 11: working in FLO throughout, repeat (2 sc, inc) 6 times: 24 stitches.
- Round 12: working through both loops again, repeat (3 sc, inc) 6 times: 30 stitches.
- Round 13: repeat (4 sc, inc) 6 times: 36 stitches.
- Slip stitch into the next stitch to ease the finishing step, without treating that slip stitch as another round. Fasten off and weave in the ends.
The front-loop round creates a clearer transition between cone and brim. The six increases in each brim round add width more quickly than the three-increase cone rounds. Check the shape on a flat surface before adding decoration.
Read the shape before changing the counts
A wavy brim may come from extra stitches, loose tension or the way the yarn behaves at this scale. Count the round first. A cupped brim may be too tight or need a different increase rate for your particular fabric. Do not force it flat with strong heat; follow the yarn label’s finishing guidance.
If the cone collapses, try a firmer fabric on the next sample or use the hat over a suitable display support. If it looks too short for your taste, insert an extra plain round between increase rounds on a new version. Write down that change so a second hat can match it.
Add a removable colour accent
Make a simple chain long enough to circle the base of the cone without compressing it. Fasten off, join its ends and tack the band to the hat at a few evenly spaced points. Avoid a tight band that pulls the lower cone inward.
Pair the hat with a ribbed pumpkin for a shelf display, or sew a small version to a wreath. The hat has an open underside; attachment to a soft surface may need several stitches around the base rather than a single centre stitch.
Keep making
- Crochet Pumpkin from a Rectangle: Ribbing and Shaping
- Crochet Halloween Wreath: Build a Balanced Display
- Halloween Crochet Yarn: Colour Palettes and Scrap Planning
Explore the Halloween crochet collection · Visit the crochet learning library