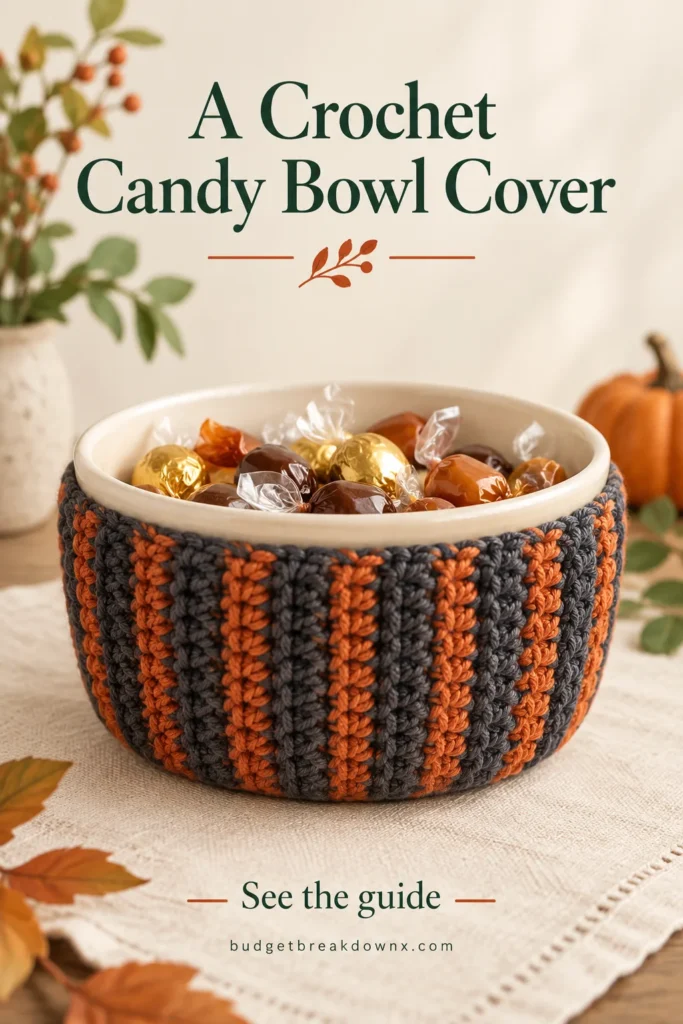
A crochet candy-bowl cover works best as a removable sleeve around the outside of a real bowl. The ceramic or other suitable bowl holds the sweets; the crochet supplies the colour and texture.
Choose a straight-sided bowl for the simplest version. A strongly flared or rounded bowl has different circumferences at different heights, so a plain rectangle may slide down, bunch up or leave a loose upper edge.
Take three measurements
- Circumference: wrap a flexible tape around the outside at the height the sleeve will cover.
- Usable height: measure from above the base to below the rim, leaving both areas clear.
- Shape change: compare the circumference near the upper and lower edges of that area.
If the upper and lower measurements differ substantially, choose a different bowl or a pattern with shaping. Do not assume that ribbing can absorb every difference. A fitted sleeve should stay in place without needing extreme tension.
Make a ribbed fabric sample
Use washable yarn and a compatible hook. For a sample, chain 13, then work 12 US single crochet across, starting in the second chain from the hook. On subsequent rows, ch 1, turn and work 12 single crochet in the back loops only. The turning chain does not count. Make enough rows to see how the ribbing behaves.
This is a construction exercise rather than a physically tested bowl pattern. Wash or finish the sample according to the label, then measure it relaxed and gently stretched. Do not plan the finished sleeve at the fabric’s maximum stretch; it needs room to go on and off without excessive strain.
Turn your measurements into a rectangle
The stitches across each row determine the sleeve’s height. The repeated rows determine the distance around the bowl. For example, if your finished swatch measures 1.8 stitches per centimetre and the desired height is 8 cm, the calculation is 8 × 1.8 = 14.4 stitches. Try 14 stitches, which means a starting chain of 15 for this single-crochet construction, then measure the actual result.
Work repeated rows until the strip wraps around the empty bowl with a comfortable fit and enough allowance for your joining method. Baste the first and last row together and test the sleeve before making the seam permanent. The seam joins two equal stitch-count edges; the row ends form the sleeve’s top and bottom.
Add stripes without changing the fit
Changing colour every few rows creates vertical stripes when the strip wraps around the bowl. Choose an even repeat, such as four rows orange followed by four rows charcoal, if you want regular bands. Check the seam location before the final rows so the repeat does not end with an unexpectedly narrow stripe.
A solid background with a small flat cat or ghost is another option. Sew the motif while the sleeve lies flat and keep its upper edge below the bowl’s rim. Avoid long hanging decorations that could drag on the table or get caught under the bowl.
Check the finished sleeve in use
Put the sleeve on an empty, cool bowl and set it on a level surface. The base should still make full contact with the table. Check that the crochet does not ride over the rim or slip into the interior when you reach inside.
Use the bowl according to its own food-use instructions. Keep the crochet outside the food-contact area, and choose individually wrapped sweets for this decorative display. The sleeve is not a potholder, an oven accessory or a carrying handle. Lift the bowl by its solid body, not by the yarn.
Make cleanup easy
Keep the sleeve removable so the bowl and crochet can be cleaned separately. Record the bowl’s dimensions and the successful row count if you want a second sleeve. Two bowls that look similar on a shelf may still need different measurements.
Keep making
- Halloween Crochet Mug Cozy: Fit It Around the Handle
- Halloween Crochet Coasters: A Simple Striped Square
- Halloween Crochet Yarn: Colour Palettes and Scrap Planning
Explore the Halloween crochet collection · Visit the crochet learning library