The wings make a crochet bat recognisable, but they are also the part most likely to look uneven. A small difference in row count, sewing position or tension can leave one wing hanging lower than the other. Plan the pair together and leave the final attachment until you can compare both pieces.
This is a pattern-selection and assembly guide. It links to a designer’s complete instructions rather than reproducing their rounds. The illustration is an original concept and does not represent the exact finished result of that pattern.
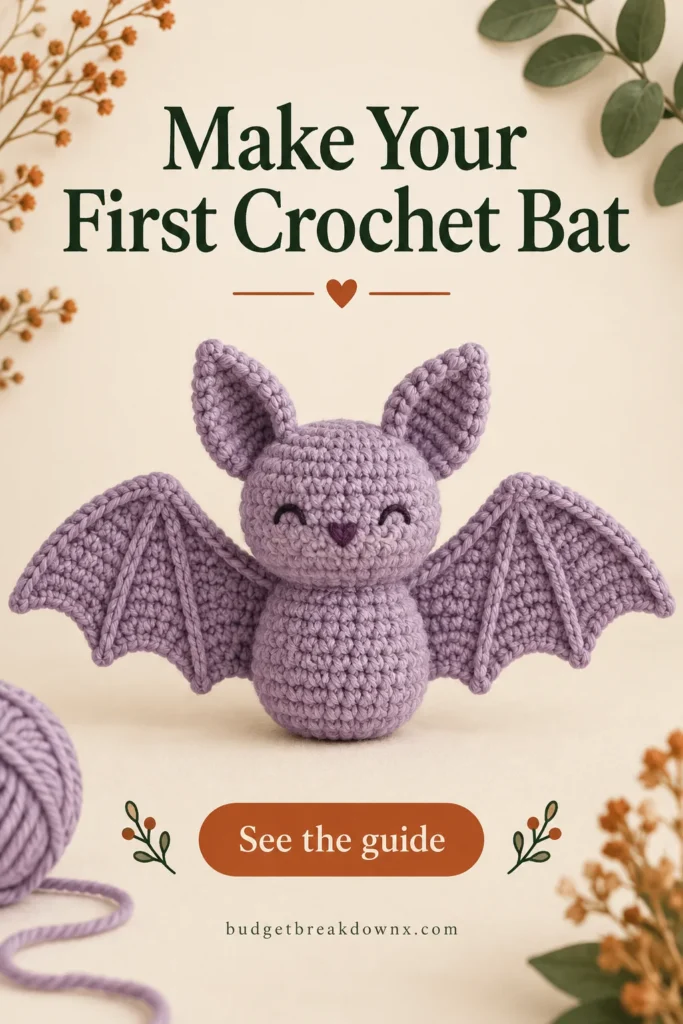
A free written bat pattern to consider
StringyDingDing’s Bat Halloween Amigurumi has free instructions on the designer’s website, with a paid PDF option listed separately. The designer labels it easy and lists medium-weight yarn and a 4 mm hook. The head and body are made together; the ears, wings and feet are attached separately. Read the full materials list and instructions there before substituting supplies.
That separate-wing construction makes the project useful if you want to practise assembly. It also means the finished expression depends on where you place the components. Copy the designer’s stitch counts into your own progress notes only for personal working use; keep the source open for the actual instructions and any updates.
Choose yarn you can see clearly
Charcoal is a practical alternative to very dark black for a first bat. A smooth lavender or grey yarn makes stitch tops and shaping easier to inspect. The colour can be playful while the silhouette still reads as a bat.
If you change yarn weight, expect the size and fabric behaviour to change. A hook that makes a firm body may make very stiff wings; very loose wings may droop. Make the first wing before committing to every remaining component. Compare its feel with the body and the designer’s intended construction.
Do not assume chenille is a direct substitute for smooth yarn just because both labels use a similar category. Its pile can hide stitches and its ends may need different handling. Use the Halloween yarn guide to record the fibre, weight and hook combination you actually choose.
Make matching wings with fewer surprises
- Finish the first wing without attaching it. Note the final stitch and row counts, including any turning chains the designer counts.
- Make the second wing using the same hook and the same counting convention.
- Lay the wings beside each other in their intended left and right orientation. Compare their attachment edges first, then the outer tips.
- If the pattern calls for finishing or blocking, treat both pieces the same way before assembly.
- Thread the sewing tails only after you have decided which face of each wing will show.
Some patterns use identical pieces that are flipped during assembly; others provide separate left and right instructions. Follow the selected pattern’s method. Do not improvise a mirrored sequence simply because the pieces look similar in a photograph.
Use a centre line when assembling
Place a removable strand vertically along the front of the body as a temporary centre line. Use it to compare the ears and eye positions. Mark the wing attachment points the same distance from this line and at the same body round.
Baste the wings loosely, then view the bat from the front and from above. A wing may appear level from the front while being twisted backward. Adjust the basting before making the permanent seam. Sew with small stitches that catch enough fabric to hold without flattening a whole area of the body.
Decide how the finished bat will be displayed
A standing shelf decoration, a hanging ornament and a flat applique need different shapes. Choose a pattern written for the use you want. Adding a hanging loop to a heavy body can tilt it forward; test the balance with a temporary thread before fixing a loop permanently.
For a display-only decoration, keep hanging cords away from places where young children can reach them. If you want a toy, choose a pattern and materials appropriate to that purpose; a decorative pattern and a pair of embroidered eyes do not by themselves establish toy safety.
Keep making
- Crochet Ghost Patterns: Two Free Designer Options Compared
- Mini Crochet Witch Hat: Cone, Brim and Shape Checks
- Halloween Crochet Yarn: Colour Palettes and Scrap Planning
Explore the Halloween crochet collection · Visit the crochet learning library