A crochet spider web can look tangled while it is still on the hook. Its structure becomes clearer when the chain spaces open evenly and the spokes point outward. Choosing the right pattern size and finishing method is more useful than stretching a small web as far as it will go.
This guide links to two free designer resources and explains how to plan a display. It does not reproduce their instructions or promise that either will match the illustrated hoop exactly.
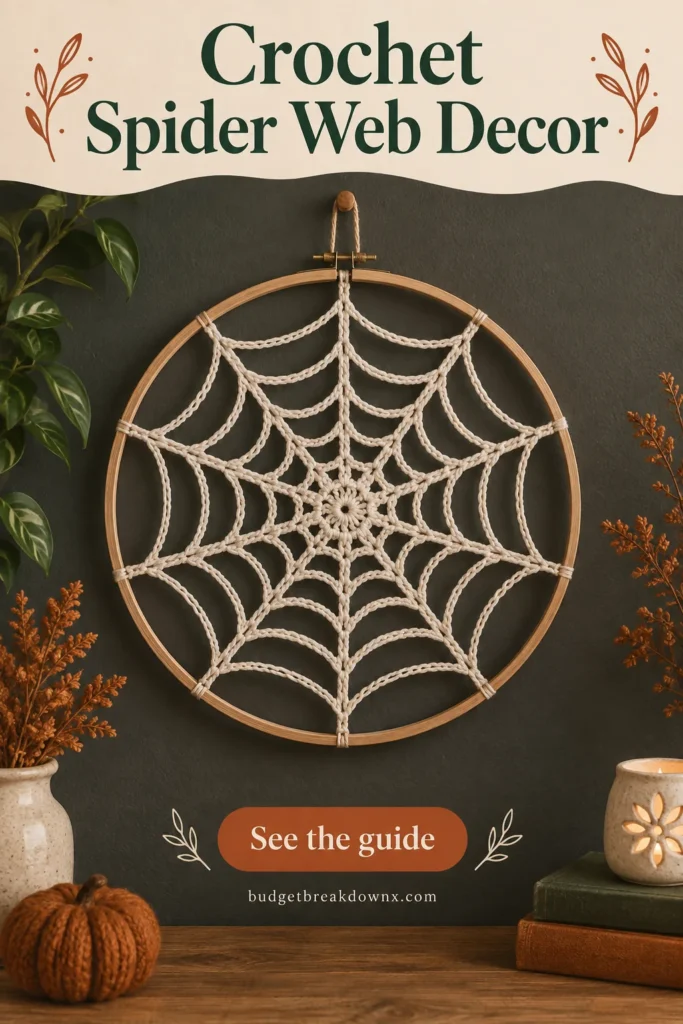
Choose a web for the scale you want
Hoooked’s spider and spider-web page includes a separate web pattern made with expanding chain spaces. Its instructions use UK crochet terms. Follow the named millimetre hook size and the manufacturer’s yarn guidance rather than assuming a letter conversion will suit every hook brand.
For a smaller embellishment, GoldenLucyCrafts’ Spider Web Applique provides free written instructions and lists a thread-crochet sample around 2 inches in diameter. The designer discusses blocking and stiffening for the finished effect. A paid print-friendly version is separate from the free web instructions.
Those are different starting points. A tiny applique is suitable for a small decorative surface; it is not automatically a large hoop hanging. Read the complete pattern before buying a hoop or substituting a much thicker yarn.
Check the terminology before counting
A UK treble is a US double crochet. A UK double crochet is a US single crochet. Mark the terminology at the top of your working notes so you do not switch systems halfway through a round. Our conversion reference can stay open beside the original pattern.
Count the repeated sections around each round, not only the total chains. A missing spoke or skipped attachment point can remain hidden until the web is stretched. Put a marker at the round start and a second marker halfway around if you lose your place easily.
Measure a finished sample before choosing the hoop
Lay the completed web flat and gently open its spaces with your fingers. Measure across opposite outer points in more than one direction. Record the comfortable diameter without forcing the chains. Then compare that measurement with the inside opening of the hoop.
For example, a web that comfortably opens to 24 cm should not be assumed to fit a 35 cm opening. A larger gap might be handled with planned attachment strands, but the visual result will be different. Choose the hoop after sampling, or choose a pattern explicitly sized for the hoop you already own.
Block evenly from the centre outward
- Follow the yarn label and the selected designer’s finishing instructions. Test any stiffener on spare yarn first.
- Use a suitable protected blocking surface and rust-resistant pins.
- Position opposite outer points first so the centre stays near the middle.
- Add the remaining points gradually, keeping comparable spaces at similar widths.
- Let the piece dry fully before removing it or judging the final shape.
Do not solve one tight section by pulling every other section harder. Check for a shorter chain span or missed stitch in the affected area. If you use a commercial stiffener, follow that product’s instructions rather than combining it with an untested heat treatment.
Attach the web without pulling it off centre
Baste four opposing points to the hoop first, then fill the gaps with additional evenly spaced attachments. Adjust one pair of opposite ties at a time. The hoop should support the web; the web should not have to distort the hoop or stretch its own chains to remain attached.
Keep the back tidy and the hanging loop separate from delicate chain spans. Display the piece away from heat, moisture and reachable hanging cords. Store it flat or supported so the shaped outer points are not crushed between seasons.
Keep making
- Crochet Halloween Garland: Motif Spacing and Assembly
- Crochet Halloween Wreath: Build a Balanced Display
- Halloween Crochet Yarn: Colour Palettes and Scrap Planning
Explore the Halloween crochet collection · Visit the crochet learning library