Front post and back post double crochet use the same yarn-over and pull-through steps as ordinary double crochet. The difference is where the hook goes: around the upright body of the stitch below, rather than through its top loops. That change brings some parts of the fabric forward and pushes others back.
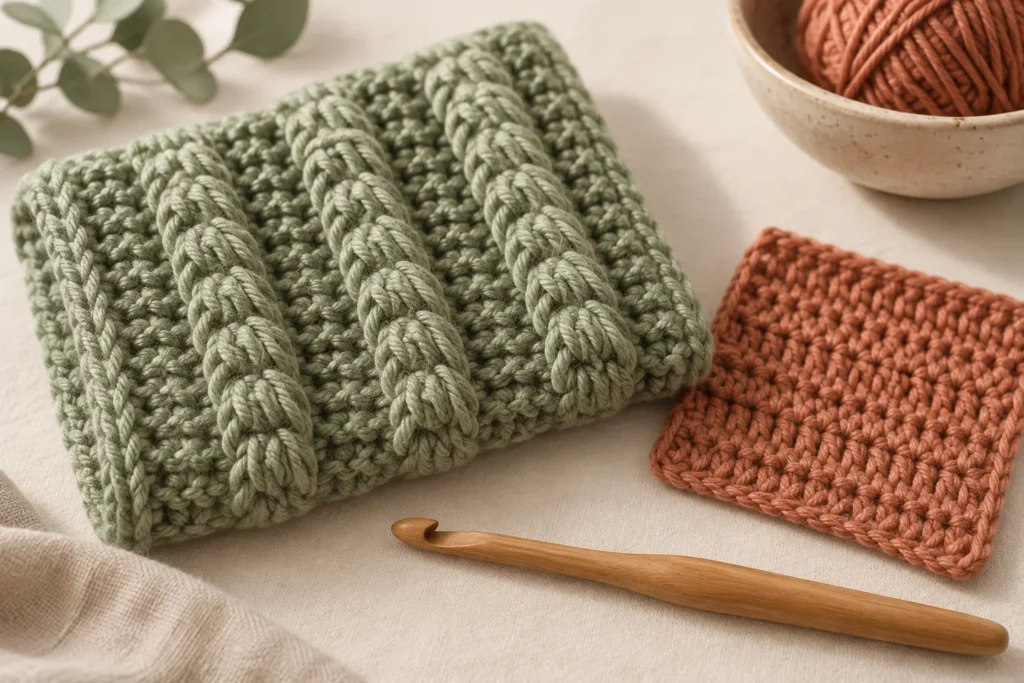
This guide uses US terms. Front post double crochet is abbreviated fpdc, and back post double crochet is bpdc. Their UK equivalents are front post treble and back post treble. Check the terminology before following an unfamiliar pattern.
Find the post before inserting the hook
Make a row of ordinary double crochet and look below the line of V-shaped stitch tops. Each tall upright section is a post. The openings on either side let the hook travel around it. You are enclosing that upright section with the new stitch.
A post stitch is different from working into the front loop or back loop. Those instructions refer to individual strands at the top of a stitch. For a refresher, compare our double crochet guide with front-loop and back-loop placement.
Lay the row down and point to each post in order before starting. This makes it easier to notice the common mistake of wrapping a post, then also crocheting into its top. In a simple one-for-one post-stitch row, that would add an unintended stitch.
Work a front post double crochet
- Yarn over once.
- Insert the hook from the front of the fabric to the back through the opening before the target post, then bring it to the front through the opening after that post. The post lies across the front of the hook.
- Yarn over and draw the yarn around the post to bring up a loop. You now have three loops on the hook.
- Yarn over and draw through two loops; yarn over again and draw through the remaining two.
“Before” and “after” follow your working direction: normally right to left for a right-handed crocheter, and left to right for a left-handed crocheter. Keep the new loop tall enough to reach the current row without dragging the post upward.
Work a back post double crochet
- Yarn over once.
- Bring the hook behind the fabric. Insert it from back to front through the opening before the target post, then return it to the back through the opening after the post. The post lies behind the hook.
- Yarn over and draw up a loop around the post, giving three loops on the hook.
- Complete the double crochet with two pull-through-two steps.
The hook path is the part to change; you do not turn the entire sample over halfway through the stitch. Yarnspirations explains both placements in its crochet learning guide. For another visual reference, see Meghan Makes Do’s post-stitch tutorial.
Practice with 12 stitches and protected edges
Use smooth yarn and a comfortable hook. This small exercise keeps an ordinary double crochet at each edge so you can concentrate on ten interior posts. The chain 2 at the start of each row does not count as a stitch in this exercise. Other patterns may use a different convention.
- Setup: chain 14. Double crochet in the third chain from the hook and in each remaining chain: 12 double crochets. Mark the first and last actual stitches.
- Row 2: chain 2 and turn. Double crochet into the top of the first stitch. Work (fpdc around the next post, bpdc around the next post) five times. Double crochet into the top of the last stitch: 12 stitches total.
- Row 3: chain 2 and turn. Double crochet in the first stitch. Work (fpdc, bpdc) five times around the ten interior posts as you meet them, then double crochet in the last stitch: 12 stitches.
- Repeat row 3 for a few more rows, then examine both sides of the sample.
After turning, a post that appeared raised from the previous working side appears recessed from the new working side. In this particular even-count alternating exercise, repeating the written sequence maintains the columns. Do not apply that rule blindly to every pattern: different edge counts and texture repeats can need a different sequence.
| Part of the row | New stitches | Where to work |
|---|---|---|
| First edge | 1 dc | Top loops of first stitch |
| Interior | 10 post stitches | One around each of ten posts |
| Last edge | 1 dc | Top loops of last stitch |
| Total | 12 | Turning chain excluded |
Check the fabric before changing the hook
The row suddenly has 13 stitches. Check whether you counted the turning chain, used both the top and post of one stitch, or worked an extra edge stitch. Follow the row from the first marker to the last rather than removing a random stitch.
The raised posts pull the row downward. Slow down as you draw up the first loop and let it reach a comfortable working height. If your pattern asks for a taller post stitch worked into a lower row, follow that instruction; substituting a shorter stitch can distort the fabric.
The columns are becoming a checkerboard. Look at the posts as they face you after turning. Check whether the pattern wants you to preserve columns or deliberately reverse them. Mark a reference face of the sample so you can compare the same side each time.
The sample is narrower than ordinary double crochet. Raised texture can change the dimensions and fabric thickness. Measure a gauge swatch in the actual stitch pattern before using it for a fitted item.
Use the new skill in a project
Once each placement feels familiar, compare the post arrangements in waffle stitch and alpine stitch. Read their terminology and row instructions carefully: learning fpdc and bpdc gives you the movements, while the pattern tells you which posts to use and when.
Keep the practice sample as a reference. It is easier to recognise a misplaced post when you have a small piece where you can trace every row.