A horizontal crochet buttonhole is made by replacing a few stitches with chains, then working across those chains on the next row. The opening needs to admit the actual button while staying snug enough to hold it. Make one sample before placing a whole row of buttonholes on an adult cardigan, cushion cover or pouch.
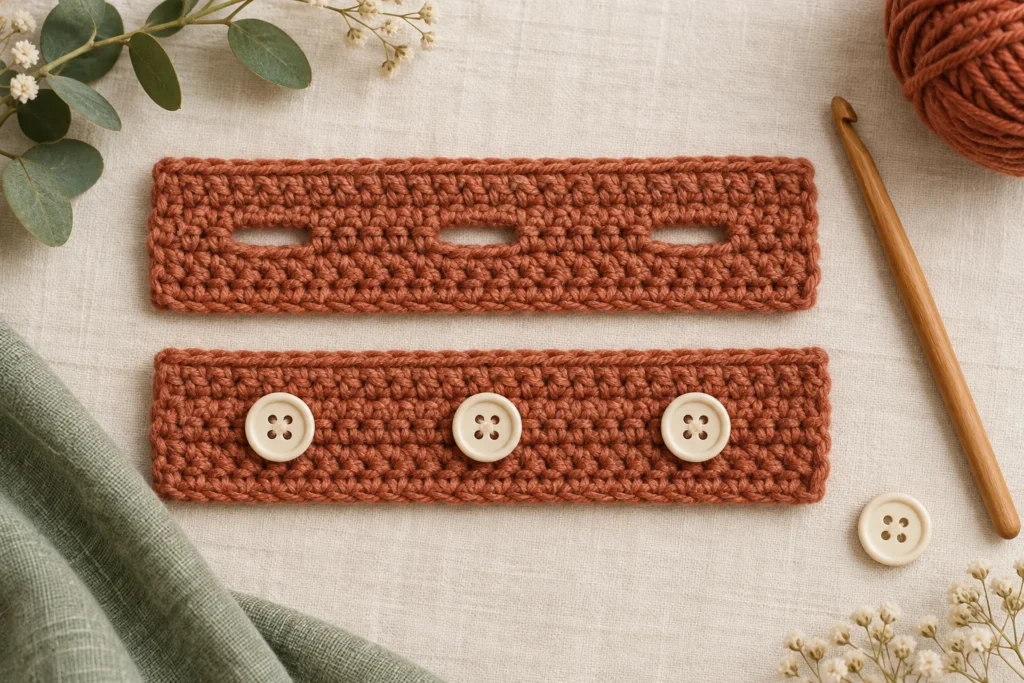
This tutorial uses US terms: ch means chain and sc means single crochet. US single crochet is UK double crochet. The practice band uses one stitch throughout so you can see exactly where the opening starts and ends.
Choose the button before deciding the opening
Use the real button for the test. Its diameter matters, but so do its thickness, shape and how easily it tilts through the fabric. A thin flat button and a domed button of the same diameter may need different openings.
Use the project yarn, stitch and hook for the sample. An opening that works in firm cotton may behave differently in a stretchy blend. If the finished project will be washed, treat the sample according to the yarn’s care instructions and assess it again after drying.
Keep a note of the button diameter, hook and number of skipped stitches. If the first attempt is too loose, you can change one part of the sample rather than guessing again from scratch.
Understand what the chains replace
The Craft Yarn Council’s buttonhole guidance describes making chains at the opening, skipping the same number of base stitches and restoring that number of stitches on the next row. It also notes that openings stretch, so the button should pass through a snug hole.
For example, chain two and skip two stitches. The row above needs two stitches over that opening. Adding two stitches into the opening and another stitch into each chain would accidentally add two stitches to the band.
Before starting, review the chain stitch if you cannot yet identify individual chains. The exercise below works into the chain space on the return row, which keeps the counting easy.
Make a 14-stitch practice band
This is a stitch-placement exercise, not a universal button size. Choose a button to test against the finished opening and adjust the sample if needed. The chain one at each row start does not count as a stitch.
- Row 1: chain 15. Single crochet in the second chain from the hook and each remaining chain: 14 sc.
- Rows 2 and 3: chain one, turn and single crochet in all 14 stitches.
- Row 4, opening row: chain one and turn. Single crochet in the first six stitches, chain two, skip the next two stitches, then single crochet in the remaining six stitches.
- Row 5, closing row: chain one and turn. Single crochet in the first six stitches, work two single crochets into the chain-two space, then single crochet in the last six stitches: 14 sc.
- Row 6: chain one, turn and single crochet across all 14 stitches. Finish the sample and secure the ends.
The opening row contains 12 single crochets and two chains. The next row restores 14 single crochets. Place a marker in each edge stitch if the turning chain is tempting you to add an extra stitch.
| Part | Opening row | Closing row |
|---|---|---|
| First side | 6 sc | 6 sc |
| Centre | Ch 2, skip 2 | 2 sc into the chain space |
| Second side | 6 sc | 6 sc |
Test the opening without forcing it
Pass the button through at an angle, then let the fabric relax. Try fastening and unfastening it several times. The opening should not require hard pulling or immediately gape around the button.
If it is too small, try a fresh sample with one additional chain and one additional skipped stitch. Keep the band’s total positions constant by reducing the number of ordinary stitches beside the opening. If it is too large, reduce the chain-and-skip count and restore the saved position as an ordinary stitch.
For example, a three-chain opening in a 14-position row could have five sc before it and six after it: 5 + 3 + 6 = 14. The opening is slightly off the exact centre by one stitch, which may be acceptable for a sample. A finished design should place it deliberately.
Space several buttonholes with measurements
For an adult garment, decide where the top and bottom button centres should sit while the fronts overlap as intended. Measure the distance between those two centres. With five buttons, there are four intervals between them.
If the first and last centres are 32 cm apart, the ideal interval is 32 ÷ 4 = 8 cm. Mark the five centres at 0, 8, 16, 24 and 32 cm within that span. These are example measurements, not a recommendation for every garment.
Transfer the positions to the actual stitches or rows and check the complete layout before making openings. If a target falls between two positions, distribute the small adjustments over the band. Do not round the interval repeatedly and let the error accumulate at the last button.
When working a band from measurements, use a gauge swatch and the stitch and row calculator to estimate positions. Then check against the actual finished edge, which may stretch or have a different pickup spacing.
Match the buttons to the finished band
Place the completed fronts or cover edges in their intended overlap. Mark each button position through its corresponding opening, then sew the buttons onto the opposite band. Leave enough clearance for the fabric thickness and check that fastening does not pull the band into waves.
If the buttonhole band looks good flat but gapes when worn, review the garment’s fit and overlap as well as the holes. A tighter hole cannot compensate for fronts that are being pulled too far apart. Our cardigan sizing guide explains how ease affects that fit.
Keep the successful sample with your notes. It gives you a repeatable opening size for the same combination of yarn, hook, stitch and button, and a useful starting point when you make a matching item.