Crab stitch, also called reverse single crochet, makes a compact twisted edge. You use the basic single crochet actions while travelling back along the fabric in the opposite direction. The result is useful when you want a narrow, defined finish on a coaster, bag opening or blanket edge.
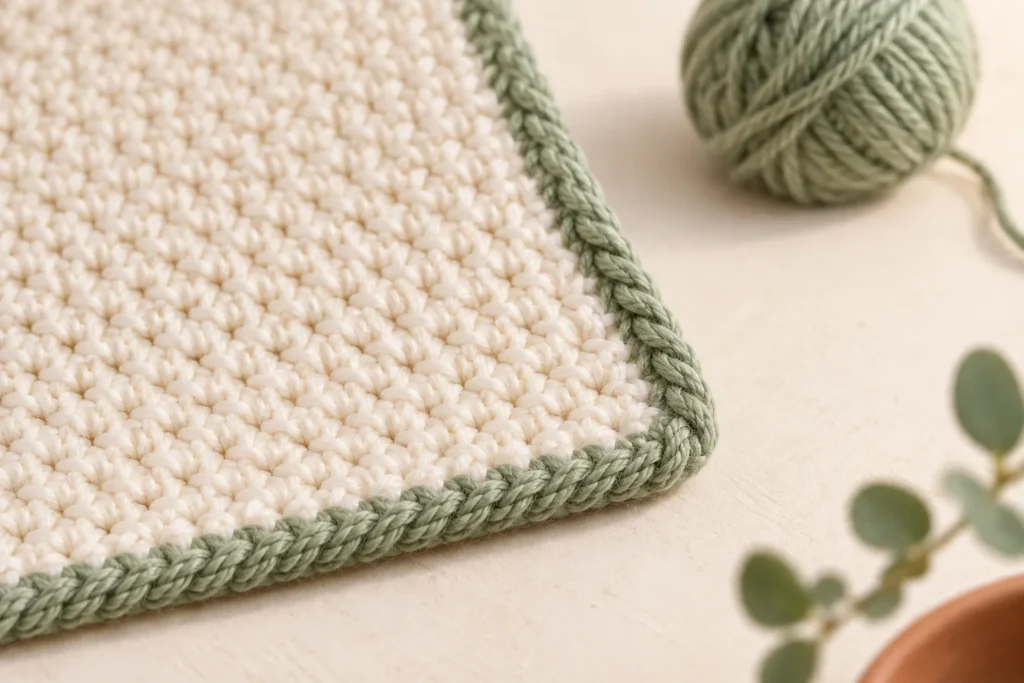
US terms are used here. Reverse single crochet may appear as rsc or reverse sc; in UK terminology it is reverse double crochet. For a right-handed crocheter, crab stitch normally travels left to right. For a left-handed crocheter, it normally travels right to left.
Start with an edge you can already count
For your first attempt, use a flat sample with a row of single crochet along the top. A smooth, light-coloured yarn helps you see the stitch tops. Use the same yarn weight for the edging so the new strand does not overwhelm the sample.
Check that the base row lies flat and has a clear first and last stitch. A border cannot reliably correct a missing stitch every few rows or a severely puckered foundation. If the sample already curls or waves, review the beginner border guide before adding a decorative finish.
Work a short test on a spare swatch first. You can assess the direction and loop size without having to undo a whole side of a large blanket.
Change direction without turning the work
After finishing a normal row, your usual next action is to turn. For this exercise, keep the same face toward you. You will travel backward across the row you have just completed. Lion Brand’s reverse single crochet glossary describes this change of direction.
The reverse movement can feel unfamiliar because the hook reaches toward the hand holding it. Turn your wrist only as much as needed to pass through the stitch; keep your shoulders and grip comfortable. If the yarn catches, enlarge the working loop slightly and try the insertion again.
Make the first few reverse single crochets
The following straight-edge practice uses the start described in LoveCrafts’ reverse single crochet tutorial: chain one, leave the stitch directly beneath the hook, then begin in the next stitch in the reverse direction. Your project pattern may specify a different attachment or starting stitch.
- Keep the work facing you and chain one. This chain does not count as an edging stitch here.
- Find the adjacent stitch in the reverse direction: to the right if you crochet right-handed, or to the left if you crochet left-handed.
- Insert the hook through both top loops, from the front of the fabric to the back.
- Yarn over and draw a loop through the stitch. There are two loops on the hook.
- Yarn over and draw through both loops. Let the twist settle rather than trying to flatten it into an ordinary single crochet.
- Continue into the next stitch in the same reverse direction.
After several stitches, set the sample down. The individual twists should begin to read as a small cord along the edge. For a close demonstration of managing the two loops, designer Kati Brown provides a crab-stitch video and written tutorial.
Use a short exercise to check every insertion
Chain 13. Single crochet in the second chain from the hook and each chain after it to make 12 stitches. Chain one, turn and single crochet across for three more rows, keeping 12 stitches in every row. The turning chain does not count.
At the end of the fourth row, do not turn. Chain one and use the start above. Work backward into each of the remaining 11 stitch tops. Because this exercise leaves the stitch directly under the hook unworked at the start, you make 11 reverse single crochets across a 12-stitch base. That is intentional for this practice edge, not a rule for every border.
Mark the first and last crab stitches if their tops are hard to recognise. When you finish the exercise, cut the yarn with a usable tail, draw it through the final loop and weave in the ends without cinching the corner. A border worked all the way around a project needs the pattern’s own start and joining instructions.
Fix a tight, wavy or uneven edge
| What you see | What to check | Next attempt |
|---|---|---|
| Fabric pulled into a shallow bowl | Small edging loops or skipped base stitches | Check the count, then allow more room in the loops |
| Ripples outside a flat base | Extra insertions or oversized loops | Confirm one insertion per planned location; use more consistent loops |
| One twist much larger than the next | Working loop changes after each reach | Pause after drawing up the loop and compare its height |
| No cordlike effect | Work was turned and normal direction resumed | Keep the same face forward and check the travel direction |
If the placement is correct but the edge still feels too firm, try the next larger hook on a fresh short section. Judge the whole edge laid flat, not only the loop on the hook. Our tension guide offers ways to make loops more consistent without gripping harder.
Plan corners and joins as part of the border
A straight edge is the easiest place to learn. Corners have to change direction, and the number of edging stitches needed depends on the base fabric, yarn and shape. Follow a tested project’s corner directions where available. When adapting your own item, test one corner and lay it flat before repeating that treatment everywhere.
For a closed border, mark the beginning so you recognise when you have returned to it. Complete the join specified by the pattern and check that the finishing tail does not pull a dent into the edge. Crab stitch usually works best as the final decorative pass; plan any wider border rows before it.