Amigurumi is the craft of making small stuffed yarn shapes, often animals, characters or objects. Many crochet designs build those shapes with single crochet, increases and decreases. The first challenge is usually keeping your place around the piece, rather than learning a long list of decorative stitches.
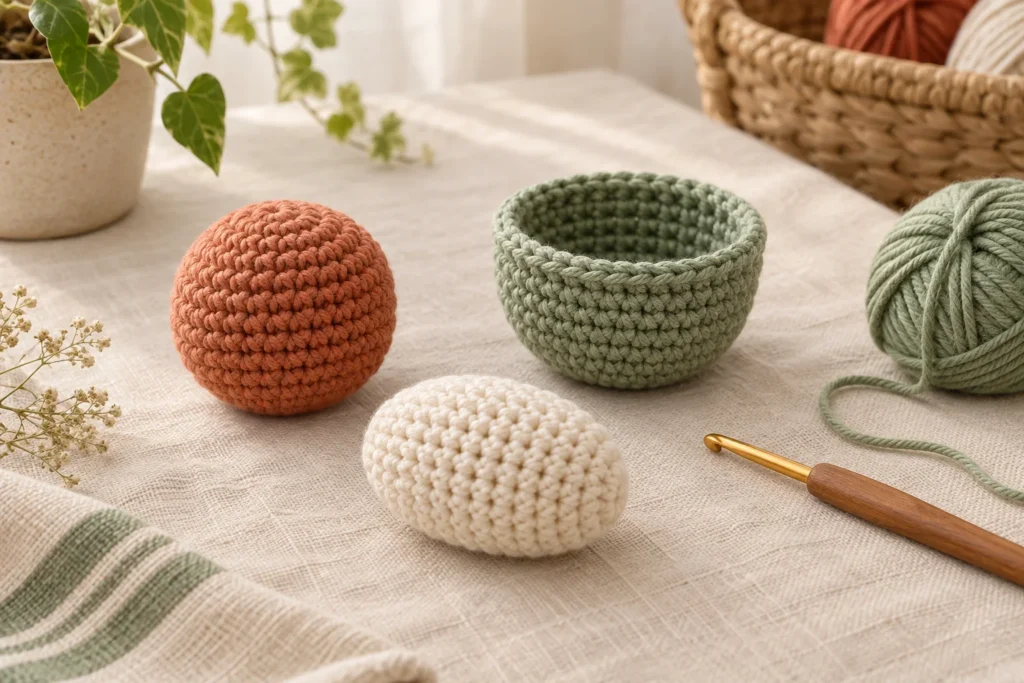
This beginner guide uses US crochet terms. US single crochet is UK double crochet. Start with an open practice cup, learn to check its rounds, then use those skills with a complete beginner pattern. The exercise below teaches counting and shaping; it is not a finished toy pattern.
Choose a first project with fewer things to track
Look for one main colour, a simple rounded body and little assembly. Read the complete pattern before buying supplies. Check that it explains the starting method, round style, final stitch totals and how to finish the piece.
A tiny project is not automatically easy. Small openings can be awkward to hold, while fuzzy yarn can hide the next stitch. Designer June Gilbank recommends getting comfortable with single-colour amigurumi before adding fuzzy yarns or colour changes in her beginner pattern advice.
For your first learning session, choose a pattern because you understand its instructions and like its shape. Save a multi-piece character with tiny fingers and several colour changes for a later project.
Gather a small, useful set of supplies
- Smooth, light or medium-coloured yarn: use the type specified by your chosen pattern. It should be easy to see the individual loops.
- A crochet hook: begin with the pattern’s recommendation and assess the fabric. A universal “amigurumi hook size” does not exist.
- A locking stitch marker: mark the first stitch of the current round. A removable loop of contrasting yarn can also serve as a marker.
- A blunt yarn needle and scissors: for securing ends and any assembly.
- Suitable filling: needed for a completed stuffed project, though the open practice cup below needs none.
Buy enough of the main yarn for the pattern and a little practice. The yarn cost calculator can help compare the whole purchase when two balls have different lengths. Extra accessories can wait until your pattern actually calls for them.
Learn the round instructions before picking up speed
In this exercise, sc means single crochet, inc means two single crochets in one stitch, and a number in parentheses is the finished round total. An increase uses one existing stitch and produces two new stitches. It adds one to the count.
For example, “(sc, inc) six times” uses 12 stitches: one for each sc and one for each increase. It produces 18 stitches: six single crochets plus twelve stitches from the six increases. This input-and-output check is useful when an abbreviation line feels difficult to follow.
If you need the movements first, work through single crochet and the magic ring. A few straight rows are a good warm-up before managing a small circle.
Make a six-round practice cup
Use single crochet through both top loops. Work in a continuous spiral: no joining slip stitch, starting chain or turn between rounds. Place the marker in the first stitch you make in each new round, moving it up as you go. Keep the yarn attached until you have checked the final round.
| Round | Work | Finished count |
|---|---|---|
| 1 | 6 sc into a magic ring; close the centre | 6 |
| 2 | Inc in each stitch | 12 |
| 3 | (Sc in next stitch, inc in next stitch) 6 times | 18 |
| 4 | Sc in each stitch | 18 |
| 5 | Sc in each stitch | 18 |
| 6 | Sc in each stitch | 18 |
The base should begin to develop sides when the increases stop; the exact proportions depend on your yarn and tension. The final edge of a spiral has a small height step. Do not add stitches simply to make that edge look level. This is a practice shape you can unravel and repeat, not a claim of a tested finished size.
At the end of round 3, count from the marker around to the stitch before it. You should find 18 stitches. If there are 17, inspect that round for a missed increase or skipped stitch. If there are 19, look for an extra stitch. Fix the count before continuing.
Recognise the three common early problems
You lose the start of the round. Mark the stitch itself, not the gap below it. Move the marker only when you make the next round’s first stitch. Our stitch-marker guide shows how to keep the boundary clear.
The fabric has large gaps. Check that you are working through both loops and forming complete stitches. Then assess the hook and yarn combination. Tightening your grip harder is not a reliable fix. The PlanetJune troubleshooter separates loop-placement, hook-size and counting problems so you can investigate one cause at a time.
The surface looks different after turning the cup over. Round crochet has two faces. Decide which side the pattern expects to face outward before adding decreases or assembling parts. Mark that side if it helps; our loop-placement guide can help you identify what you are seeing.
Move from an open cup to a complete pattern
Once you can keep 18 stitches through several rounds, practice an invisible decrease on a separate sample. A decrease combines two existing stitches into one. In a complete pattern, the placement of increases and decreases shapes the object, so follow their positions as well as the final totals.
Use the designer’s instructions for stuffing, closing and attaching parts. For visual help with those individual techniques, PlanetJune’s tutorial library provides right- and left-handed resources. If the finished object is intended for a baby or child, review the intended-use guidance before choosing features and materials.
Keep your first round-count notes. Being able to explain why a round changes from 12 to 18 is a skill you will use long after this small practice cup.